Sunday, September 21, 2014

DIY Baby Lobster Costume


We are all about costumes at our house! Any excuse to dress up is a win in my book. With Halloween approaching I wanted to share Little Plum's DIY costume from last year (I'm still busily plotting Halloween 2014!). We go to a themed party each year, and last year was our first attempt at incorporating a baby into our costumes. We needed something easily tote-able as Little Plum was not yet walking. After some brainstorming and Pinterest searching, we settled on chefs with Little Plum as a lobster. The adult costumes were easy enough. We grabbed some cheap catering aprons, chef hats, and bow ties all from the craft store. Done.

For Little Plum, I knew we needed something comfy and easily removable in the event of baby rage or dirty diapers. I began by tracing a pattern from one of her shirts with raglan style sleeves (think baseball-tee sleeves) because these are way easier to sew than set-in sleeves. I added large scallops to the bottom hem to make the lobster tail.
 
Body pattern
The whole costume was made out of fleece to minimize hemming. I finished off the back and neck openings with coordinating bias tape, leaving the ends long so that the costume tied like a smock over her regular clothes.

Front View
Back View
For the claws, I measured the width of her sleeves and the length from elbow to wrist to get the general claw dimensions, then free handed a claw pattern, leaving enough seam allowance to stuff the claws with 1/4 inch foam. I also left a large seam allowance on the back end of the claws to give me plenty of room to attach them to the sleeves. I made four claws total, two for each arm.

Claw pattern - the back edge is the width of the sleeves
I chose to sew the claws on about half way up her arms so that she would have easy access to her hands. I attached two claws to each sleeve by hand, first sewing each claw on and then tacking the two claws together on each side.

Detail view of where the claws were attached and then tacked together
Here you can see how much sleeve was poking through the claws
The hat was another bit of tricky business. I ended up heavily modifying a pilot cap pattern to fit Little Plum's massive noggin. A pilot cap has two seams down the crown which is the perfect place to attach antennae.

Hat pattern
I made a casing out of bias tape and stuffed it with pipe cleaners for the antennae, which I then sandwiched into the pilot cap seams prior to sewing it up. I finished off the edges of the cap with bias tape, leaving long tails for ties. The antennae are a little floppy when the hat isn't on a head. I left the casing extra long on the inside of the cap so that no pipe cleaners were jabbing into baby heads.


The hilarious Muppet-like eyeballs totally make the costume! For those, I cut out large circles from white knit fabric. I attached solid black safety eyes to the center of the circle (you can find safety eyes in the bear/doll making section of most craft stores). Then I just hand stitched a quick running stitch around the perimeter of the circle and stuffed it full of fiberfill as I pulled the stitches tight. Once the eyeballs were stitched closed, I tacked them onto the hat by hand.


Overall I was super pleased with how the lobster costume turned out. It was completely tolerable to a baby and looked freaking hilarious! We carried her around in a huge canning pot lined with bath towels.

Do you DIY Halloween? Do you have a family costume theme?

Friday, September 19, 2014

How I Organize Memories


Let me be perfectly honest with you. I'm pretty much a paper hoarder. Ticket stubs, programs, every greeting card EVER. I keep eeeeeverything. All of this amazing hoarding memory saving begins begging for a storage system (or leaning precariously, ready to crush you in your sleep). After several iterations, I think I've settled on a final system that is both doable and accessible. I thought I would share in case you, like me, do not have the paper purging gene. 

You know how these things start. It first lived in a jumbled keep-sake box. Then it moved to an accordion file. Then a file box. It just kept growing! I needed to intervene before it became a sentient being and started stalking me around the house. 
 
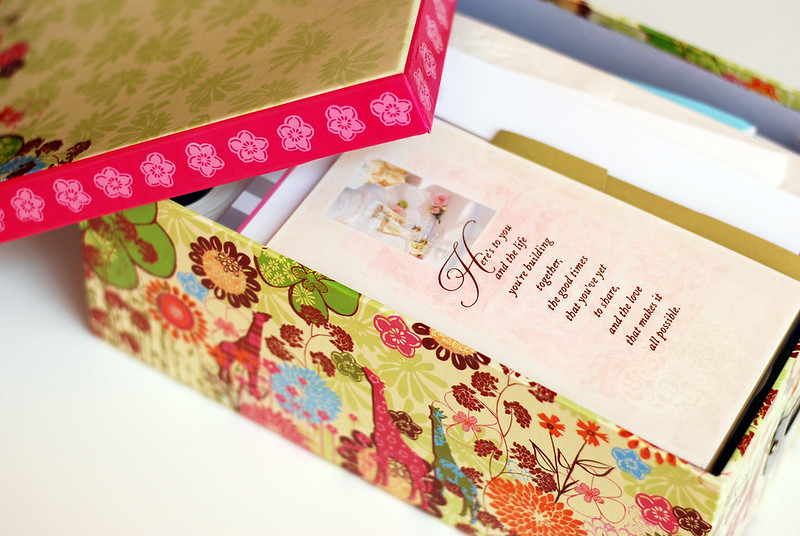
Random box filled to the brim with wedding cards

If I was going to do something to permanently address this problem, it needed to be compact and allow me to actually see what I was saving. It's not like I was enjoying fond memories through giant paper piles. My 
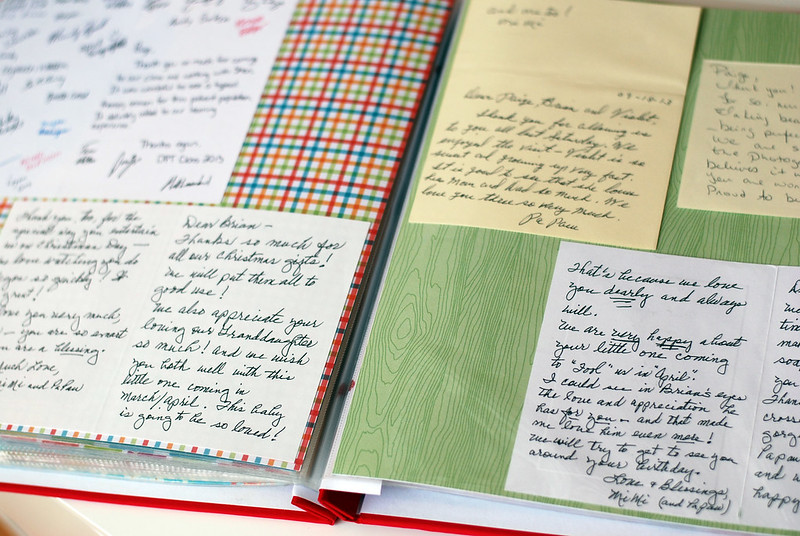
solution was to scrapbook. *cue Psyco horror music* Before you start to panic, let me assure you these are not fancy scrapbooks. The key to this system is slapping stuff down and moving on. There is no embellishing, no fancy paper cutting. I like to think of it as just a flat, cuter filing system. 
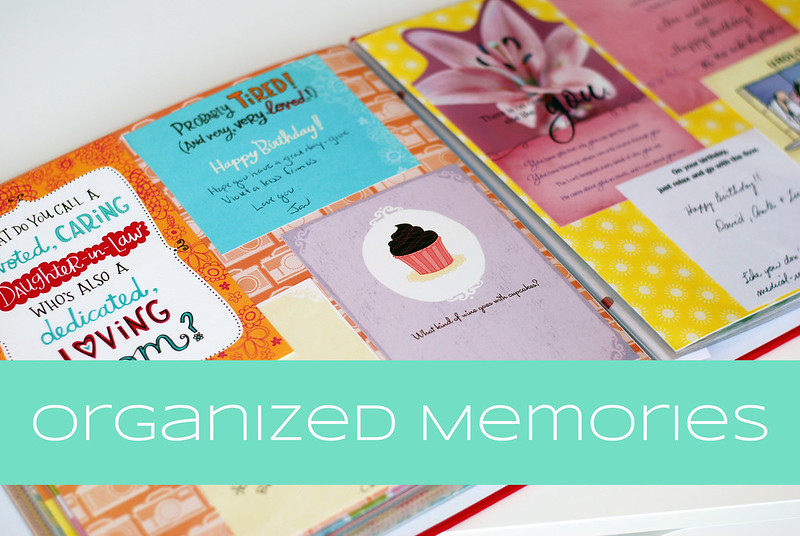
 

For greeting cards, I cut the card in half so that the writing inside can be displayed beside the outside of the card. If there is a lot of dead space around the interior words I'll trim it down. 

I generally try to group like items or events together. Race numbers, wedding invitations, holiday cards, etc. 
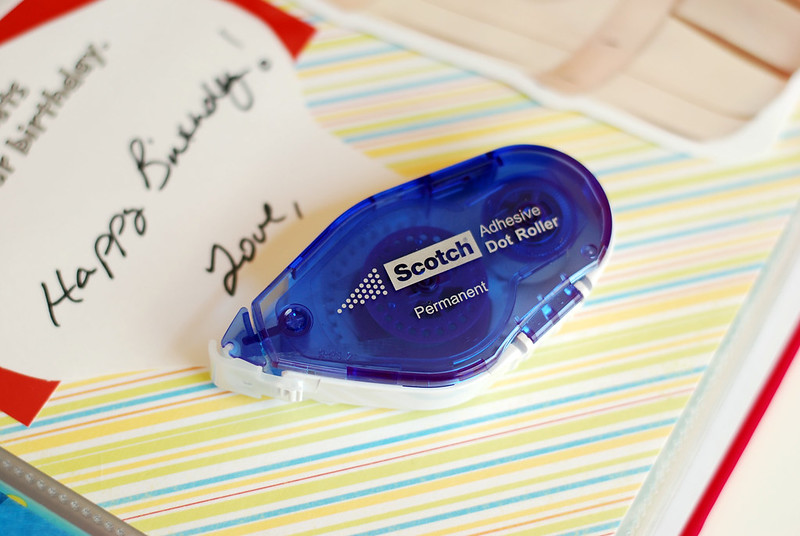
What was revolutionary for me to really become efficient with this system was the discovery of those sticky dot rollers. Holy glue stick Batman! I flew through seven years (seven years?!?) worth of holiday cards in about an hour with one of those puppies. 
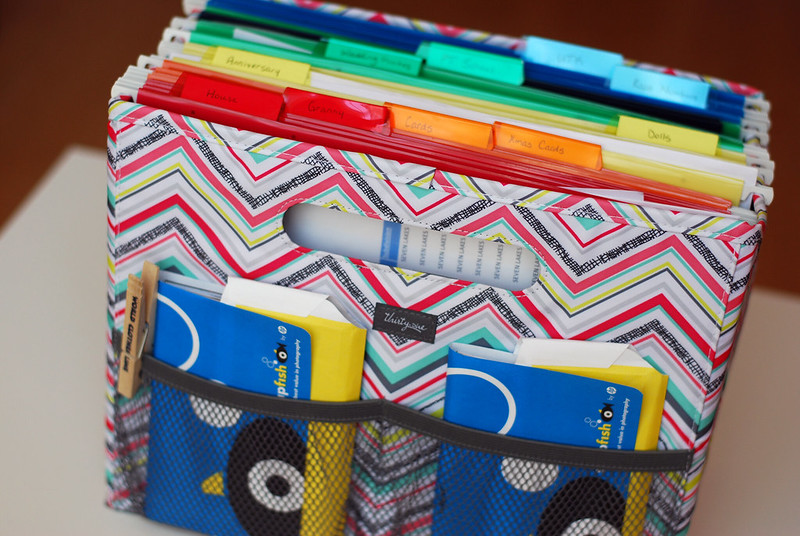
 

I do still utilize some filing systems to keep everything contained until I'm ready to stick some pages together. I have a single "Keep Sake" folder in my everyday paper sorting station. That way as soon as something save-able enters the house it has a designated home. I also have a small file bin with folders divided by category for when I sort out the everyday file box into the file cabinet every couple of months. This might seem like overkill, but it works for me to keep piles from forming on the counter tops or my desk. When I have a few spare minutes, I can grab a folder and my glue dot roller and go to town. 
 

This is seriously hack and slash scrapbooking. I don't own a paper cutter - it's just me chomping those cards apart with a pair of craft scissors. What made this a system I could stick with was the speed of assembly. I have too many other projects going to devote hours to making beautiful scrapbooks and not enough craft space to invest in scrapbook gear. Plus legit scrapbooks totally intimidate me. There are some incredibly talented scrapbookers out there! And I am not one of them! 
 
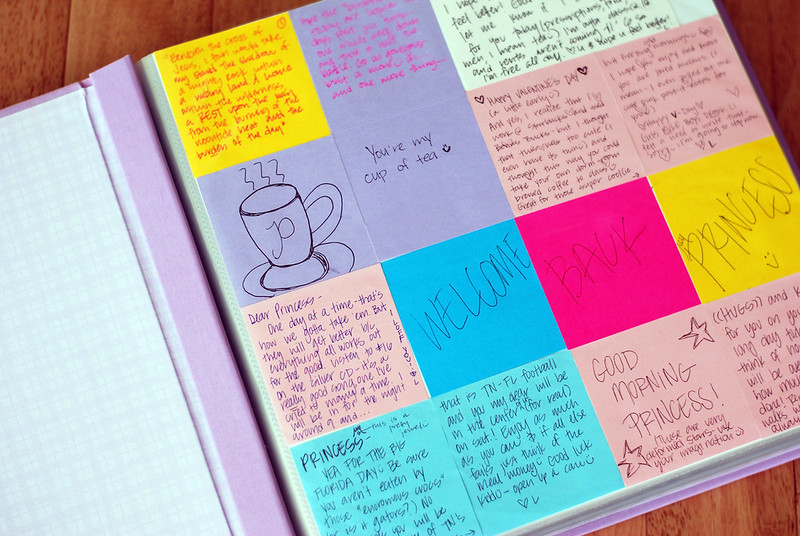
That's right, every post-it gets saved

So that's my version of memory storage. I've really enjoyed being able to actually see what I have saved without investing an unreasonable amount of time to maintain the system. An added bonus is that  this storage solution will grow with me. Instead of needing an ever larger box or file folder, I simply add to an album. 

How do you save memories? Are you better at letting go than I am? 

Thursday, September 18, 2014

Welcome!


Hi there! I'm super excited (and a bit nervous) to be entering the blogging world. I've been a reader of fabulous home and crafting blogs for years. I've always wanted to write my own, and I've finally taken the plunge.


I love to collect. Globes, Pyrex, dolls, kawaii, and a healthy craft stash - you'll find a bit of everything here.


Our home has a really playful style, one that I haven't seen on many of the blogs I follow. That's part of what motivated me to finally put myself out there. Maybe your home looks more like mine!


I'm planning to use this space to showcase my crafting adventures, successful (and failed!) DIY attempts, and organizational strategies for my many collections. I'll also be sharing some of our greener living strategies and some recipes.


My house and crafts are far from perfect, but hopefully you'll find something that inspires you. Welcome to my blog! I hope you'll visit often!