I don't know about you guys, but sewing doll clothes has (until recently!) always been mysteriously frustrating for me. I just couldn't figure out how other people were doing it so successfully. My sewing machine would invariably gobble up those tiny seam allowances, leaving me
First off, stop everything you're doing and get yourself a straight stitch plate for your sewing machine (I just Googled to find one that fit my sewing machine model). This magical device completely eliminates the sewing-machine-eats-tiny-seams phenomenon!
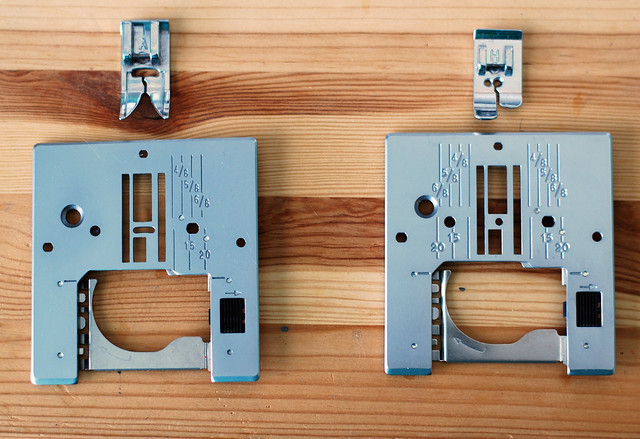 |
| Default needle plate on the left - Straight Stitch needle plate on the right |
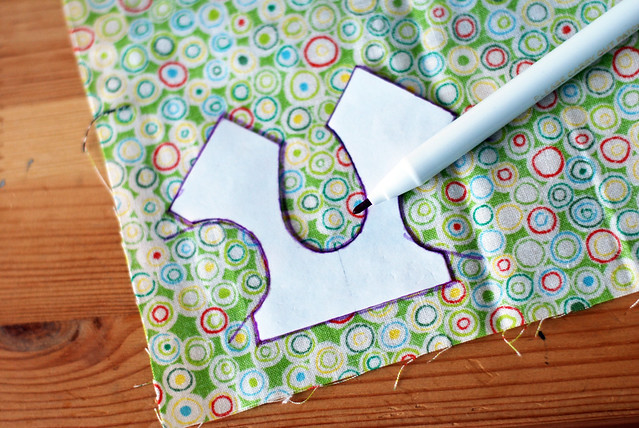
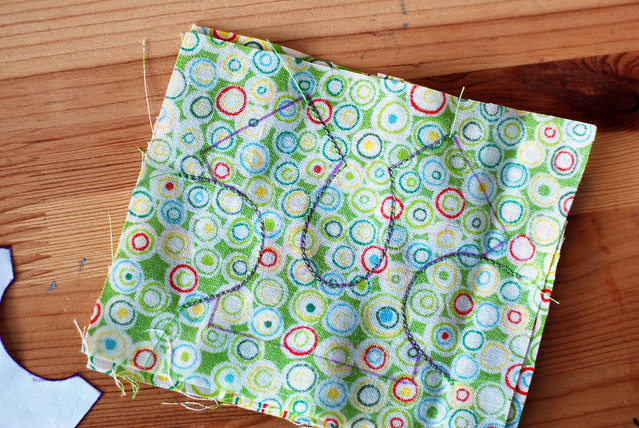
My next tip is to only cut your fabric when you absolutely have to. In the spirit of avoiding those frustrating tiny seam allowances, I've started tracing my bodice pattern directly onto my fabric using a vanishing ink pen. Then I just cut out two squares of fabric and sew along my tracing lines.
I cannot emphasize enough just how much easier this is! My finished pieces are much more precise since I'm sewing directly on a line, and the fabric is much less likely to unravel while sewing. Just be sure you pay attention to which lines you're supposed to be sewing at each step in your pattern.
 |
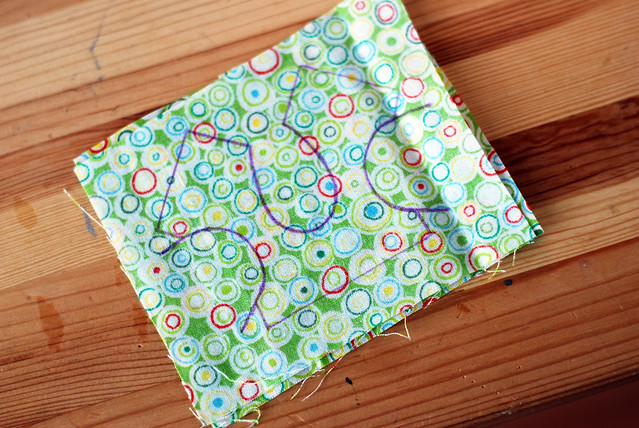
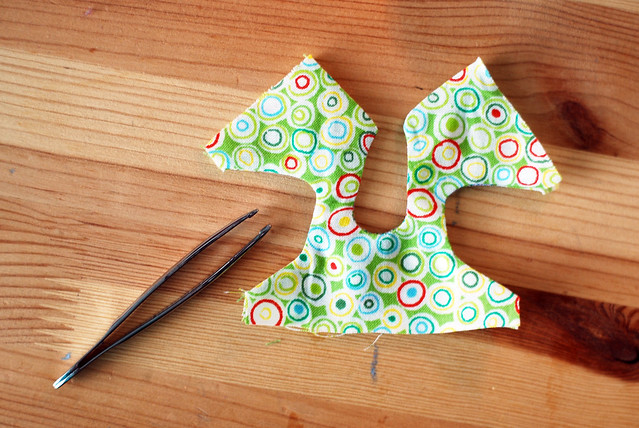
| Here I've stitched around the neck and arm openings of the bodice |

I use these blunt tweezers to turn my tiny pieces right-side-out. The trick with using tweezers is to not pull the fabric. Just use the tweezers to hold the corner still while you turn the rest of the fabric AROUND your stationary tweezers (does that make any sense?). You don't want to be pulling and tugging with the tweezers because you're likely to rip a hole in your fabric.
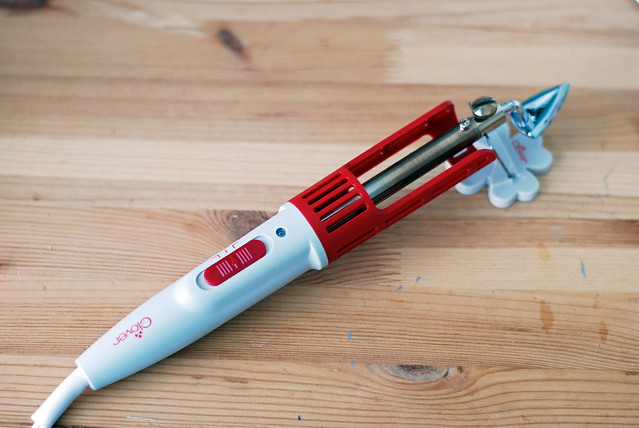
Finally, this mini-iron from Clover is the magical finishing touch to making things look nice and professional. A full size iron is way too big for these tiny pieces, especially if you're trying to do anything precise at all (and aren't looking to begin a life of crime by burning off your fingerprints!). This tiny iron is perfect for getting all those little corners crisp and square. Just be careful - that post in the middle gets super hot!
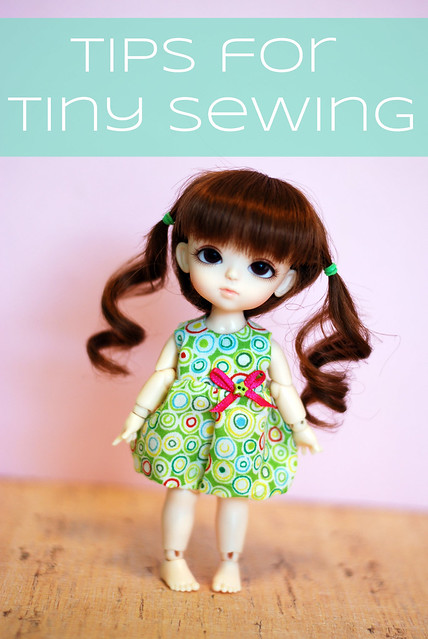
And the finished results!
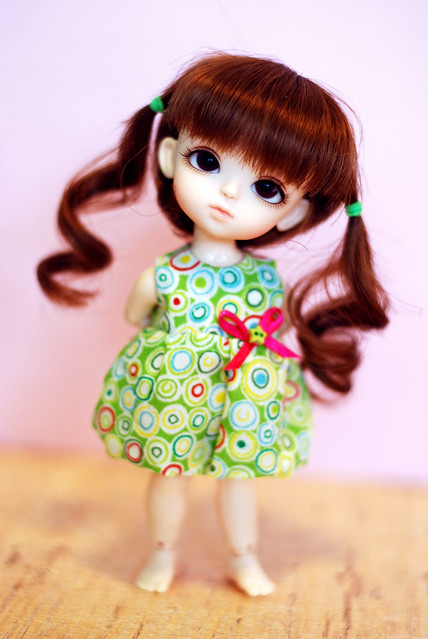
Those are my tricks for sewing tiny doll clothes - get a straight stitch plate, trace your pattern, and get a tiny iron for finishing. They have seriously changed how I view sewing for dolls and made the whole process so much less frustrating and more fun. And isn't fun what it's all about?
Do you have any tips for sewing doll clothes or other tiny things? I'd love to hear them!