Thursday, October 23, 2014

Our Fall House

Just popping in to share a few of the fall and Halloween details that have come out to play around our house.

I heart deco-mesh wreaths a ridiculous amount.


Dolls are totally decor items. Right? Right.


I am so pleased I haven't managed to kill the mums yet!


Our fall porch, ready for trick-or-treaters.
I wasn't quite ready to give up summer this year, but all those pumpkins do look pretty happy around the house!

Sunday, October 19, 2014

Family Aladdin Costume Part 2 - Toddler Magic Carpet Costume


Check out part one of our Aladdin family costume in my previous post for details on our Genie and Jasmine costumes.

When we decided on an Aladdin Halloween costume theme, I went around and around debating which character we should make Little Plum. In the end we decided on the magic carpet, and I couldn't have been happier with how it turned out! After the initial design process, the costume was actually pretty simple to construct. Here are all the details in case you, too, would like a tiny magic carpet in your life!

I wanted the costume to have a bit of a flying squirrel quality, but I wanted Little Plum to be able to walk by herself as well. With this in mind, I decided on a dolman type sleeve and left the bottom of the costume open. I measured Little Plum's length from neck to ankle and her arm span to get the general costume dimensions. (In reality I chased her around with a tape measure for 20 minutes, then measured a pair of her pajamas!) Then I added little sleeve-like openings that went from her wrist to her elbow. This is all much easier to see in the design diagram below!


With the general dimensions determined, I cut the fabric using my ruler and rotary cutter rather than drawing out a pattern. I had the fabric folded in quarters when I cut, with a fold along the top edge and a fold down the middle. I just eyeballed the curve from sleeve to body, and since the fabric was folded I knew the two sleeves would match. I also free-handed the neck opening, using her pajama top as a guide. We were left with basically a huge poncho at this point.


To sew it up, I began by heming the bottom edges using some great gold tassel trim. Then I sewed up the side seams with more tassel trim sandwiched in between. I finished off the wrist and neck openings using fold over elastic with a zig-zag stitch. I'd never used fold over elastic for more than hair ties before, and it was a huge pain to sew, but it really made the difference in having the costume look finished and professional.


Now it was time to decorate the carpet! I relied heavily on costumes from the Aladdin musical and the few I could find on Pinterest to determine the carpet design. The final design is true to the movie carpet, but only features the center-most portion if the design since I was working on such a small canvas.


I made three patterns for the basic shapes - the tear drops, the swords, and the purple claws. I cut all the shapes out of felt and placed them on the costume starting at armpit level so that the design wouldn't be too distorted with her arms at her sides.


I used fabric glue to attach the felt to the costume. Initially I let the pieces dry about an hour before trying it on and was disappointed that they were easily peeling off. I set it aside for a day and when I came back they were solid as a rock! Lesson learned - let fabric glue cure for 24 hours or so.

I finished off the costume with a hair bow made out of the gold tassel trim. I just rolled the trim up and hot glued it in place before attaching it to an alligator clip. I added cheap non-slip shelf liner to one side of the alligator clip to keep the bow from slipping.


Pictures totally don't do justice to just how hilarious this costume is in real life! When she moves her arms and the carpet flaps around you can't help but giggle, especially with all those tassels.


The true success of the costume is the she actually loves to wear it! Once the glue fully cured there was no way she could pick the felt pattern off, and it is super easy to put on and take off. But most importantly it doesn't hinder her movement at all, which is of course top priority when you have an oh-so-busy toddler on your hands. It's even tricycle approved!


I hope this tutorial was helpful if you find yourself needing this oddly specific costume! A magic carpet wasn't necessarily the obvious choice when we were thinking about Aladdin characters, but the costume ended up being fairly simple to construct, totally recognizable, and completely hilarious!

I hope you're enjoying the Halloween season and having fun dressing up!

Thursday, October 16, 2014

Family Aladdin Costume


It's Halloween costume time!

This costume needs just a little bit of explaining. We go to a themed party every year, and this year's theme was Robin Williams. While there's no shortage of costumes to fit such a theme, we were looking for a family friendly option. So we decided to paint Mr. Plum blue! Ok, ok, that wasn't the only reason we picked Aladdin, but it was definitely a bonus! Mr. Plum was obviously the Genie to include Robin Williams' roll in the film, I went as Jasmine, and Little Plum was the magic carpet. I'll give you the break down on the adult costumes in this post. The fabulous toddler magic carpet costume deserves a post all it's own!

The basics of our adult costumes were dance costumes (our harem pants and my top). We purchased ours from Amazon, but you can find them much cheaper on eBay if you order well in advance to account for international shipping. A note about sizing - Mr. Plum and I are both wearing extra larges! The sizes are Asian and teeny tiny! I had to completely remove the elastic from the waistband of my pants to make them lay right. The fabric is stretchy enough that I didn't replace the elastic with anything, I just left it out all together.


My costume was simple enough to finish off with some gold jewelry and gold ballet flats. My headband and it's embellishment are from Joann's.


My ponytail holders were covered with strips of blue fabric secured with Velcro dots. And that's it! Easy peasy.

Mr. Plum's costume had a few more DIY details to really make it true to the movie. His top is a light blue athletic compression top (also purchased from Amazon) so that we didn't have to paint his entire body!

We finished off the costume with a simple red sash sewn from red stretchy velour fabric and gold wrist cuffs sewn from a similar fabric. Both secured with Velcro dots.


The genie shoes were a bit of a last minute complication. We set out to buy some jester shoes the day of the party, but it turns out those aren't exactly a hot costume item this year and nowhere carried them. Rather than break character, Mr. Plum promptly took me to the fabric store and demanded requested that I sew him some genie shoes. Here are the steps I followed in case you need to make your own last minute genie shoes!

Start by tracing the sole of a low profile shoe (I used Mr. Plum's running shoes) and add a point off the toe approximately the length of the curl you'd like on the shoe.


Next trace the side of the shoe, adding the curled toe using the length of the sole pattern as a guide for the length of the curl.


Cut two soles and four sides from stretchy fabric. I used the same gold velour used for the genie wrist cuffs. I added approximately 1/4 inch seam allowance to the side pieces. I didn't add any seam allowance to the sole pieces (the thickness of tracing around the tennis shoe made up for it).

Begin assembly by sewing the two side pieces together at the heels and along the curved top, right sides together.

Now that you have the two sides attached, sew the sole onto the sides with right sides together. You may have to fudge a bit with this step (especially if you made your pattern in, say, the last 15 minutes before you needed to leave the house!). I made sure to line up the toe seams and left any fudging to be done on the heels since that wouldn't be seen as much. Also be prepared to use about a thousand straight pins to hold all those curves together. Once the sole is sewn on, turn everything right side out and you should have a shoe.


I added a little stuffing to help the toes keep their shape. If I'd had more time I might have finished the ankle opening, but since this was eleventh-hour-speed-sewing I just left that portion unfinished.

That's it for our Jasmine and Genie costumes. In the end our DIY versions weren't much cheaper than pre-made costumes, but the pieces are much more versatile and I know we will use them again (harem pants are comfy, yo!). I'll share all the details of Little Plum's magic carpet costume in my next post.

Saturday, October 4, 2014

Cloth Diapering 101 - Our Wash Routine


As promised in my last post, here are the details of our cloth diaper wash routine. This works at our house, but depending on your water chemistry or your kiddo's eating habits your routine may be completely different. The whole system was generally a process of trial and error, but it was definitely helpful for me to read the routines that worked for others when developing ours.

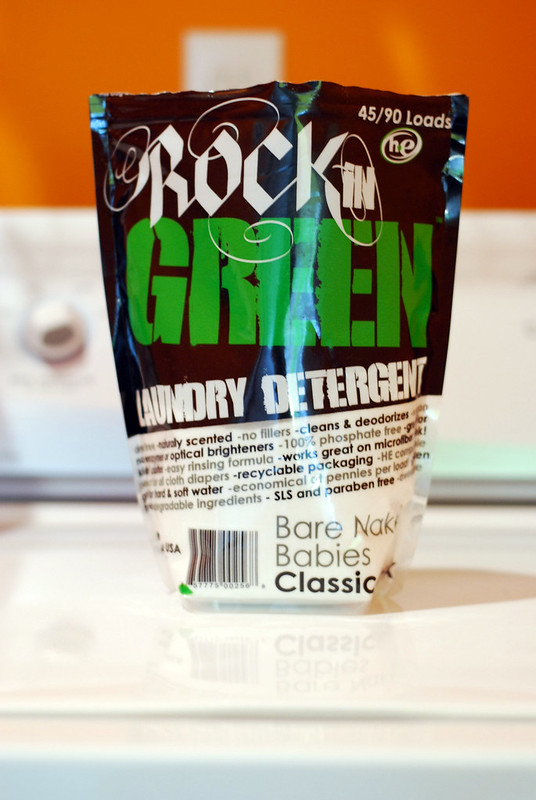
As far as the nuts and bolts, we wash every other day for the most part. Our preferred detergent is Rockin' Green. For each load we start by running a full cycle on cold with no detergent at all. We then switch to hot and add 3 tablespoons of detergent.


We let the diapers soak with the detergent for at least an hour, sometimes longer, prior to finishing the first hot cycle. Soaking was a new skill to me with our washer. We have a top loader so it turns out that all we have to do is leave the lid open as the tub fills, but check the owners manual on your washer for any special tricks. We then do two additional hot rinse 
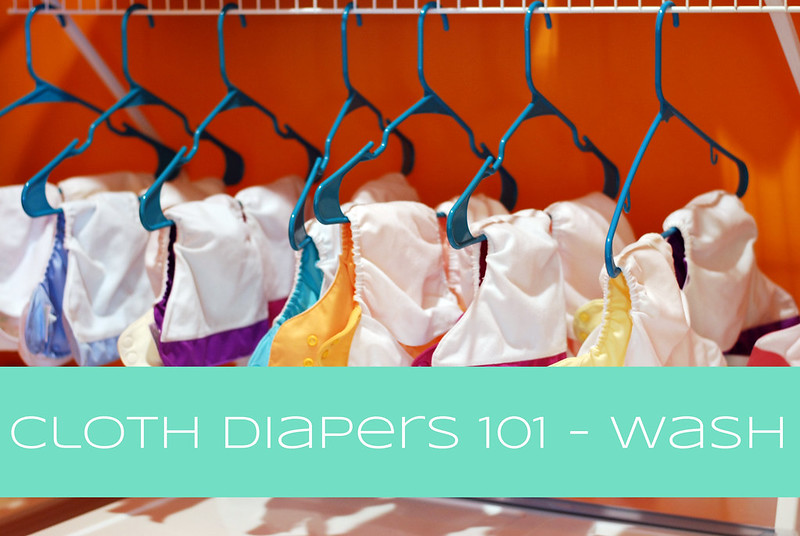
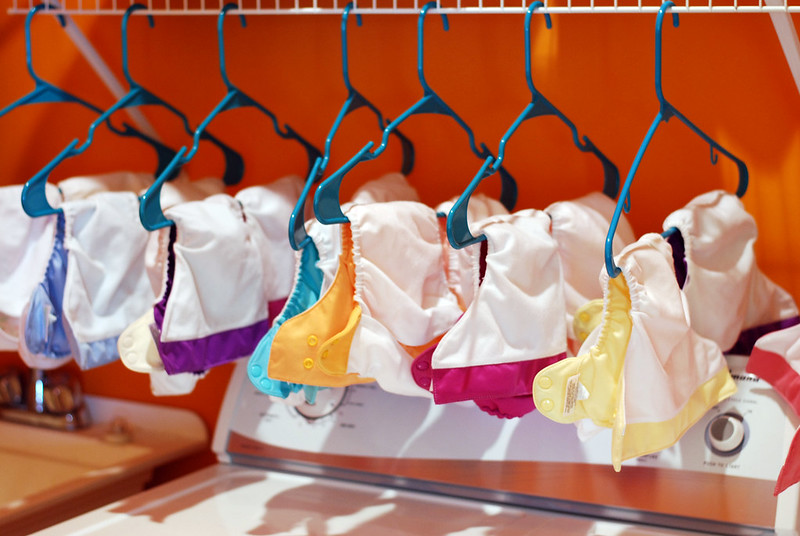
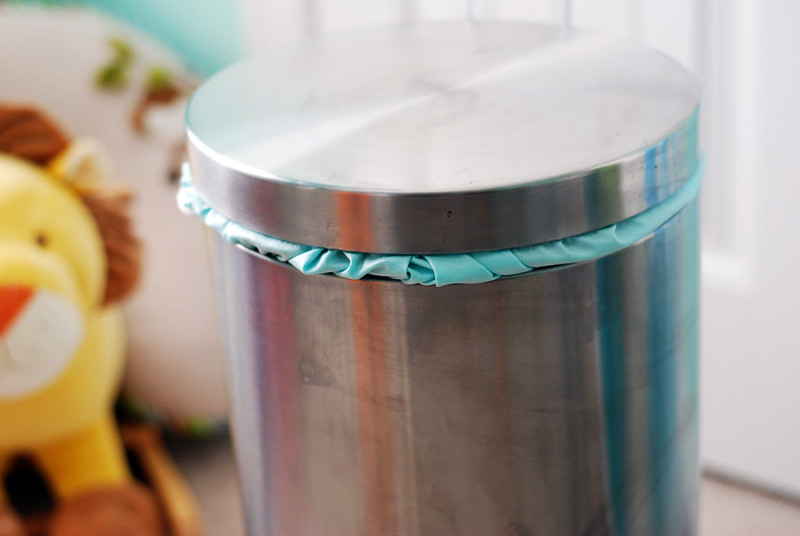
cycles. Once the rinses are complete, we line dry our pail liners, wet bags, diaper shells, and all-in-ones. We throw the liners in the drier.


Due to space constraints in our laundry room, we don't have a drying rack. Instead we use hangers on the wire shelf above our washer and drier.
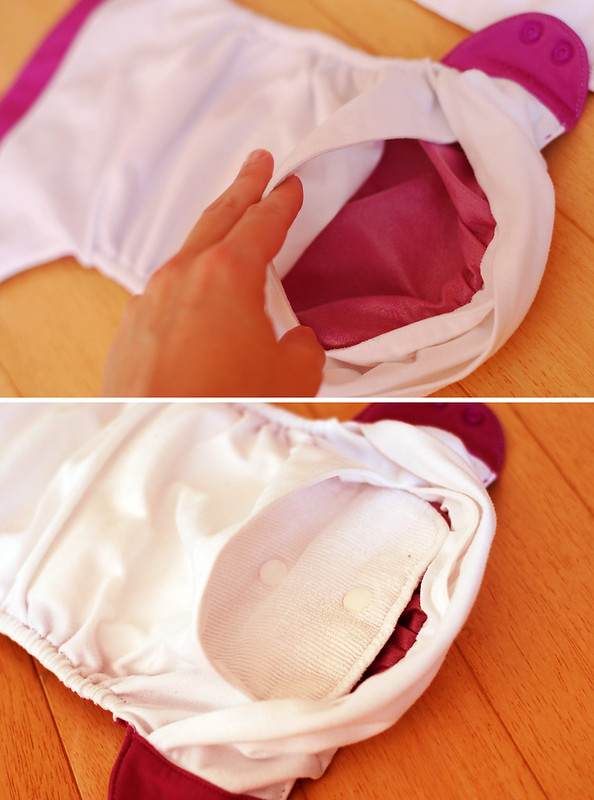
This may be a "Duh!" moment for some, but for me this was revolutionary - 
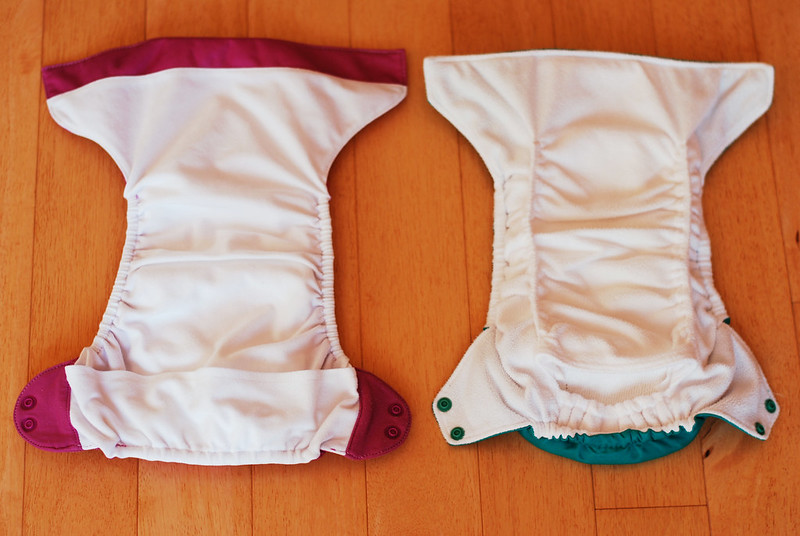
You can dump the whole can of diapers straight into your washing machine! For months I was suiting up in hazmat gear to un-stuff each diaper prior to washing it. Not only was this gross, turns out it was completely unnecessary. The washer separates the shells from the liners just fine on its own. Woohoo!

I know what you're thinking. I haven't touched on the stinkiest subject yet. Poop. This is probably what makes or breaks a cloth diapering household. Is it scary? You bet. But I don't think it's monumentally worse than with disposables, at least for me. We were lucky that Little Plum exclusively breast fed for her first 6 months. Breast fed poo is water soluble and can go right into your washer without any intervention. That gave us plenty of time to get our wash routine going without the added complication of poop removal.

Things got real once solid food was introduced, as any solid poop needed to be removed from the diaper prior to throwing it in the can or wash. If you're lucky, you can turn the diaper over and the offensive material plops into the toilet without further persuasion. Unfortunately for us, Little Plum has a deep love of beans, corn, and all things fiber. Our diapers generally require some further assistance in the poop removal department! Lots of folks use a diaper sprayer attached to their toilet. They are kind of expensive, but there are also lots of tutorials available to make your own by using a kitchen sink sprayer. We happen to have a huge utility sink in our laundry room with a sprayer. With the rational that all drains lead to the septic tank, I started spraying ours in the utility sink. For me this keeps any splatter well contained, and I don't have to do a sprint across the house with a dripping diaper.  I'd also recommend a pair of stout rubber gloves.

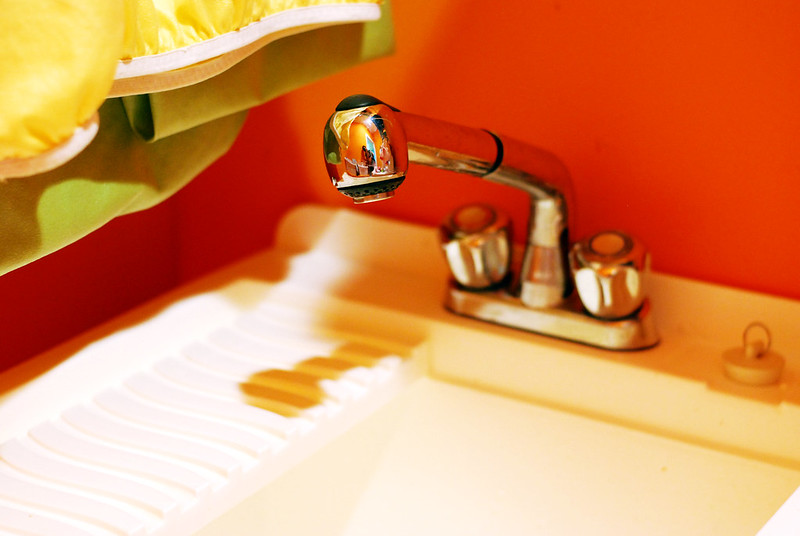
Bonus points if you can spot the awkward laundry room photographer
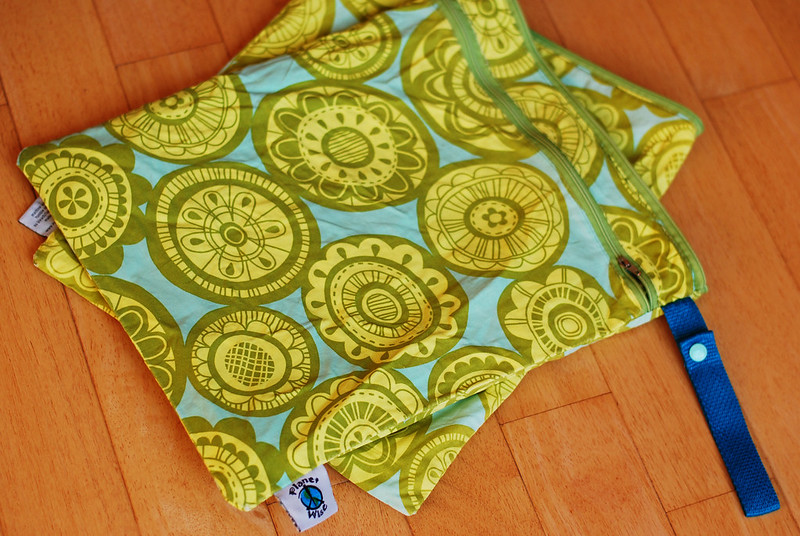
Just in case you were wondering, I don't ask daycare to spray poopy diapers. If it's plop-able they flush it, otherwise they just roll it up and send it home in the wet bag.

For an extra deep clean, we have a system to strip our diapers. We only started doing this once solid food was introduced and our diapers started retaining some extra stench after washing. We strip our diapers about every 6-8 weeks, using the BumGenius recommended method of original Dawn dish washing liquid and bleach.


We start with the same cold cycle, followed by a hot cycle with detergent. At this point we remove any pail liners, wet bags, or the rouge diaper that cannot be bleached (Rumparoos at our house). We then add 2 tablespoons of Dawn and 1/4 cup of bleach and run a hot cycle. We follow this up with at least 4 additional rinse cycles to make sure all the bleach is removed. Our diapers may not come out smelling like daisies exactly, but they don't singe your nose hairs anymore!
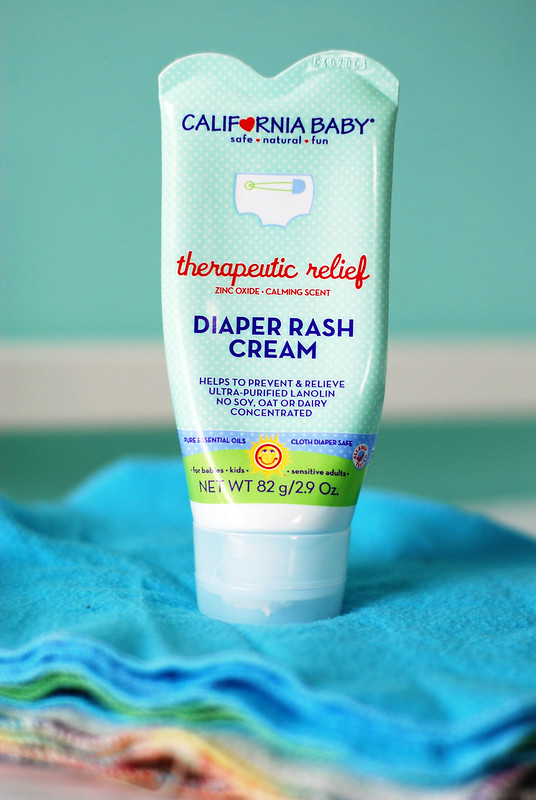
A note about diaper rash creams. We don't get a ton of diaper rash with cloth, but on the occasion that we do we prefer the California Baby diaper rash cream for cloth diapers.


 Whatever you choose to use, be sure it is cloth diaper safe. Traditional diaper creams with ruin your cloth diapers by basically making the absorbent side waterproof. We had one diaper sacrificed to some Desitin at daycare. No matter how many times we stripped that diaper, the Desitin just wouldn't come out. Live and learn.

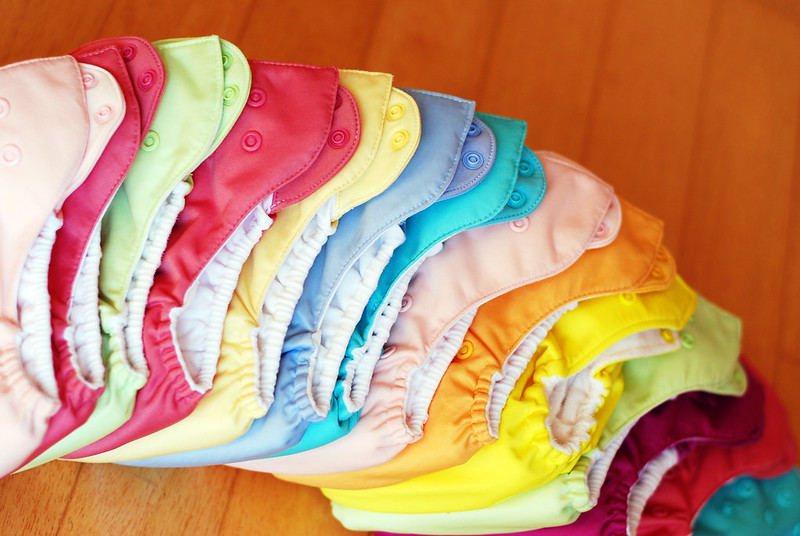
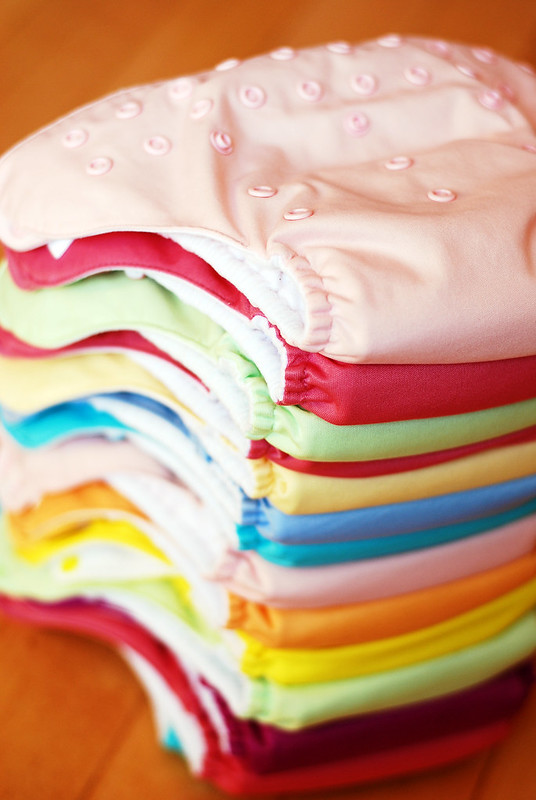
So fresh and so clean!
So that's it, our cloth diaper routine! I hope it was helpful for you if you're starting on this journey (or even if you've been using cloth for a while!). I realize cloth isn't for everyone, but it is totally doable even for a working mom and a kiddo in daycare. Our system is constantly evolving as Little Plum grows, so feel free to share any tips or tricks in the comments!

Friday, October 3, 2014

Cloth Diapering 101 - Our Basic Gear


Cloth diapering isn't for everyone, but it made a lot of sense for our family. A little green, a little DIY, and as it turns out not nearly as scary as I anticipated. But it definitely has the potential to be super confusing. Cloth diapering was one of those things that required countless hours of internet research to figure out, and even then I was left with a lot of trial and error. While some guess work is inevitable as you figure out what systems work best for your family, I wanted to share some of the lessons we've learned along the way. Let's start with what gear we use and why we love it (or don't love it so much).

When I initially made the decision to cloth diaper, I was completely overwhelmed by all the options available. Pre-folds? Pocket diapers? All-in-ones? What were these things?! I needed a glossary just to go shopping. What I found the most helpful was individual people saying exactly what worked and didn't work for them, so now I'm paying it forward to you! Learn from my mistakes, new diapering padawans.


I can't speak to the other styles, but we ended up going with a combination of size adjustable pocket diapers and all-in-ones. No safety pins here - these styles go on just like a disposable diaper. Pocket diapers have a waterproof shell that you stuff with an absorbent liner. To share one of my early clueless moments, initially I was pretty confused and thought you had to reuse the outer shells when you changed diapers. That would mean reaching into a yucky diaper to swap out the dirty liners - Eeew. I'm not sure where I got this idea, but it is completely wrong! You use a whole clean diaper for each change. Changing a pocket diaper isn't any more gross than changing a disposable. Thank goodness!

Here you can see the pocket opening, without and with the liner stuffed inside
This pocket style has worked well for us because you can customize the level of absorbancy by adding more liners. Now as an active toddler, we use one full size liner for day time wear, and one full size plus two newborn liners for nighttime wear (our diapers came with one of each size).

Here you can see the outer shell and the full size liner compared to the newborn size liner
The downside to pocket diapers is that you have to stuff the liners back into each diaper after you wash them, which can be a little time consuming. All-in-ones have the same waterproof shell, but the absorbent liners are already attached to the diaper. After washing, you simply fold the absorbent sections back in and you're ready to go. The downside is that these diapers are less customizable and usually take longer to dry. At toddler age the absorbency of the all-in-ones is perfect for our daytime wear, but when Little Plum was smaller these diapers were huge on her since I couldn't remove any of the liner bulk. I also find the attached liners make poop removal a little unwieldy.

Pocket diaper on the left, all-in-one on the right. Pardon my little helper's hands!
As far as brands, we are a BumGenius household all the way! We primarily use the 4.0 pocket diapers, but we also have several of their all-in-ones. There are a couple of features that make BumGenius work particularly well for us. I really appreciate how the waterproof outer shell folds over to make a barrier on the front edge of BumGenius diapers - it keeps tummy leaks at bay. We have several Rumparoos as well, but they are our least favorite. The covers have not retained their waterproof nature over time, and they also have a tendency to leak at the tummy, at least on Little Plum. Little Plum also has the uncanny ability to shoot poop torpedoes down into the pocket on Rumparoos! What the heck, kid? Does this happen to anyone else? So for that reason I really appreciate the flap that covers the pocket opening on BumGenius 4.0s. That's just our experience though. If you're new to cloth diapering I would recommend trying at least a couple styles/brands to find what works best for you.

BumGenius 4.0 on the left vs Rumparoo on the right. See the colored band at the top of the BumGenius? That's waterproof. It's difficult to see here just how open the Rumparoo pocket is, but you can definitely see the handy flap on the BumGenius pocket.
We have 34 diapers in regular rotation. This is a bit more than the amount generally recommended, but we weren't about to turn down generous friends and family who purchased them as baby gifts, and I am glad we have a healthy sized stash. For the most part we wash every other day, but our large stash allows us some flexibility. We never go longer than three days though - things start to get stanky!

As far as dirty diaper storage, we have two Planet Wise pail liners that we alternate in a large stainless trash can (our can is from Target).


We also have two Planet Wise medium wet bags that we alternate for Little Plum's diaper bag. The medium wet bags easily fit 6 to 7 dirty diapers, maybe more. Little Plum goes to daycare three days a week while I'm working, and daycare has never had any difficulty with her diapers. We send them stuffed and ready to go, so they are no more difficult to put on than disposables. The only difference is that instead of throwing away the dirties, daycare sends them home in her wet bag.


We elected not to use cloth wipes. Initially I was just too overwhelmed with being a new mom to devote the time to making my own wipe solution, but now that we've entered the realm of scary toddler poop I just need to throw those suckers away. Sorry landfills, but this girl's gotta keep it real! We use Earth's Best wipes as a less chemical-y alternative.

Seriously, how cute is a rainbow of diapers?
That's it for our gear. I'll share the details of our wash routine in the next post. If you're considering cloth diapers, I highly recommend it! Not only have we saved tons of money and avoided excess chemicals, I'm pretty sure there's nothing cuter than a baby in a cloth diaper!

Do you cloth diaper? Do you have a favorite brand or style? Let me know in the comments!