Showing posts with label Sewing. Show all posts

Thursday, March 5, 2015

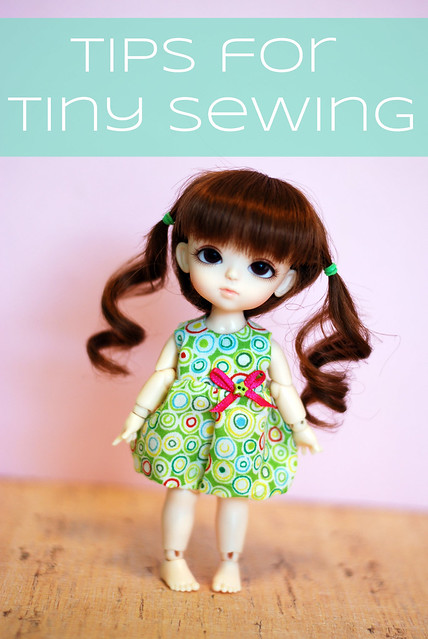
Tips and Tricks for Sewing Tiny Doll Clothes


I don't know about you guys, but sewing doll clothes has (until recently!) always been mysteriously frustrating for me. I just couldn't figure out how other people were doing it so successfully. My sewing machine would invariably gobble up those tiny seam allowances, leaving me cursing violently understandably frustrated while trying to yank my dress back out of the stitch plate. Even if my sewing machine didn't maul my dress to complete tatters, I could never quite master that professional finish. Thankfully I've stumbled upon some new tools and techniques that make this process SO MUCH easier, and I'm finally making finished produces I'm excited about. I'm so happy to share these tricks with you!

First off, stop everything you're doing and get yourself a straight stitch plate for your sewing machine (I just Googled to find one that fit my sewing machine model). This magical device completely eliminates the sewing-machine-eats-tiny-seams phenomenon!
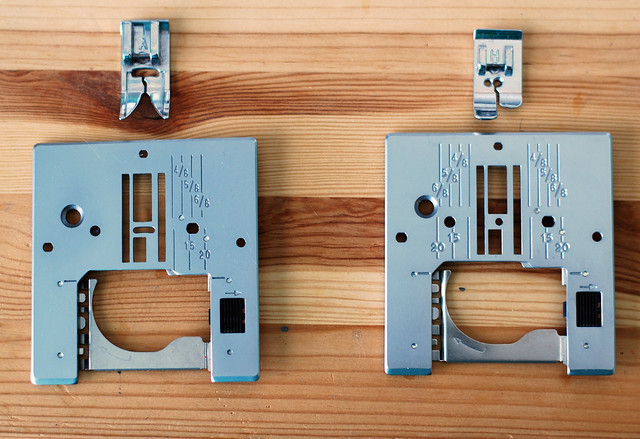
Default needle plate on the left - Straight Stitch needle plate on the right
The difference is the size of the hole available for the needle to go through. On the default plate, the hole for the needle is wide enough to accommodate your widest zig-zag setting. This gap is where your fabric gets sucked down into oblivion. On the straight stitch plate, the hole for the needle is teeny tiny, so no fabric can be pulled down. Just remember you can only do a straight stitch with this needle plate in place!


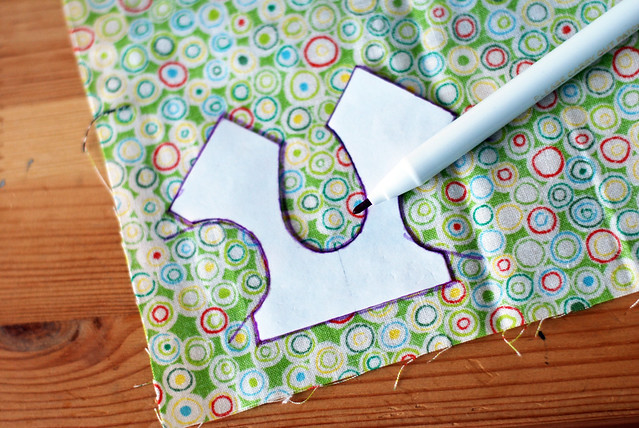
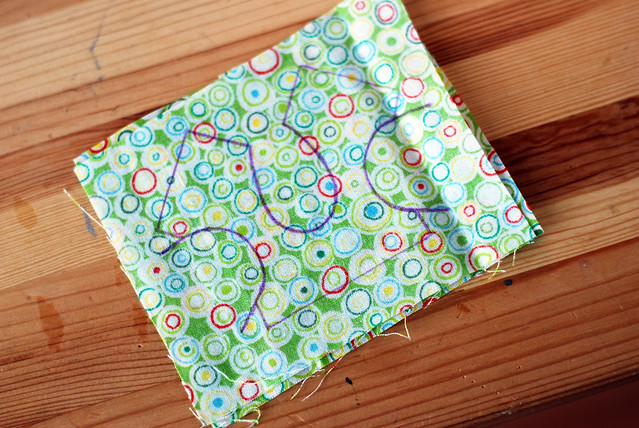
My next tip is to only cut your fabric when you absolutely have to. In the spirit of avoiding those frustrating tiny seam allowances, I've started tracing my bodice pattern directly onto my fabric using a vanishing ink pen. Then I just cut out two squares of fabric and sew along my tracing lines.


I cannot emphasize enough just how much easier this is! My finished pieces are much more precise since I'm sewing directly on a line, and the fabric is much less likely to unravel while sewing. Just be sure you pay attention to which lines you're supposed to be sewing at each step in your pattern.
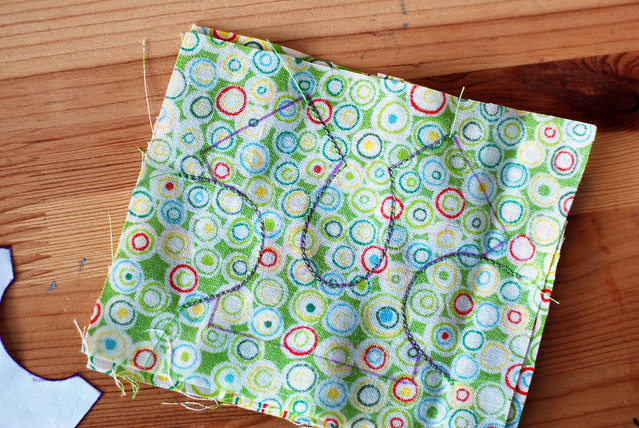
Here I've stitched around the neck and arm openings of the bodice
Once my seams are sewn, I can trim down the finished piece. Just be sure to leave a seam allowance where you need one for future pattern steps (like on the bottom of the bodice to attach the skirt).


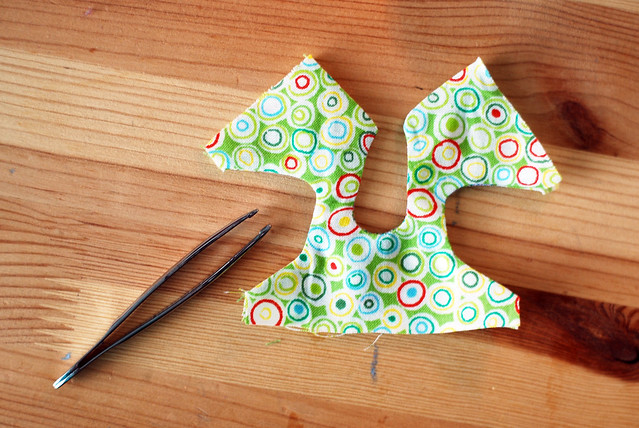
I use these blunt tweezers to turn my tiny pieces right-side-out. The trick with using tweezers is to not pull the fabric. Just use the tweezers to hold the corner still while you turn the rest of the fabric AROUND your stationary tweezers (does that make any sense?). You don't want to be pulling and tugging with the tweezers because you're likely to rip a hole in your fabric.


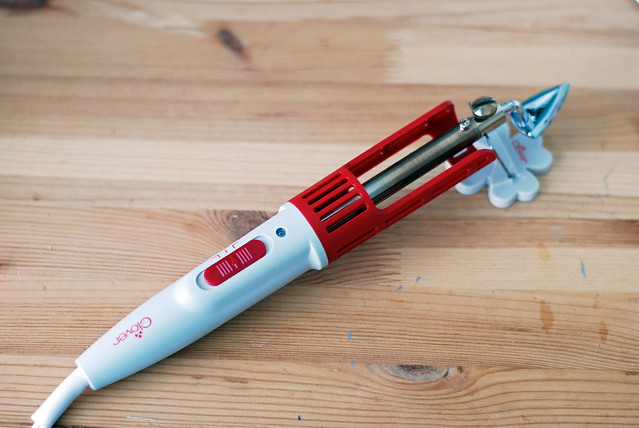
Finally, this mini-iron from Clover is the magical finishing touch to making things look nice and professional.  A full size iron is way too big for these tiny pieces, especially if you're trying to do anything precise at all (and aren't looking to begin a life of crime by burning off your fingerprints!). This tiny iron is perfect for getting all those little corners crisp and square. Just be careful - that post in the middle gets super hot!


And the finished results!


Those are my tricks for sewing tiny doll clothes - get a straight stitch plate, trace your pattern, and get a tiny iron for finishing. They have seriously changed how I view sewing for dolls and made the whole process so much less frustrating and more fun. And isn't fun what it's all about?

Do you have any tips for sewing doll clothes or other tiny things? I'd love to hear them!
Tuesday, February 17, 2015

Tiny Bubble Dresses


All other crafting has come to a grinding, screeching halt in my house. I must make all the bubble dresses!

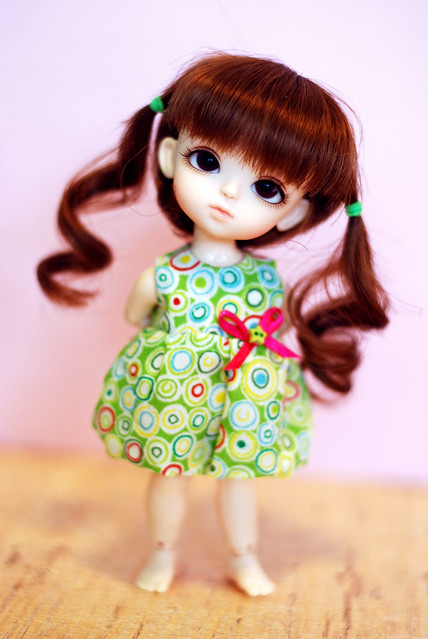
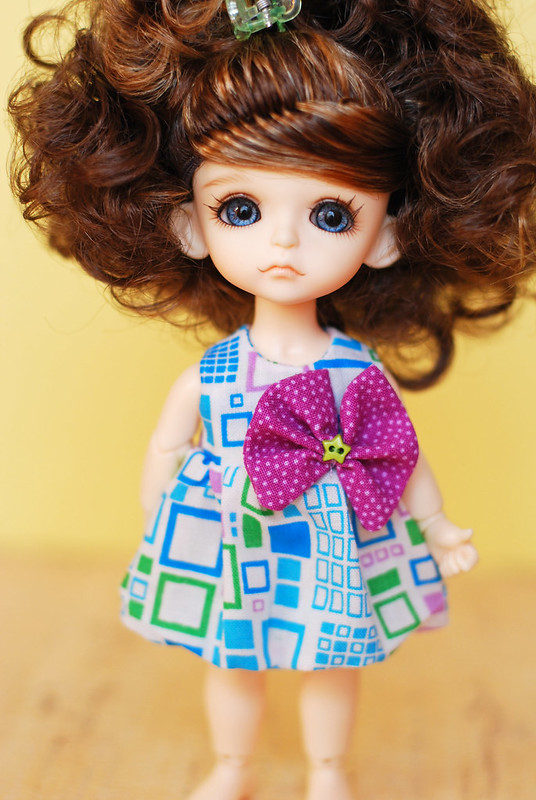
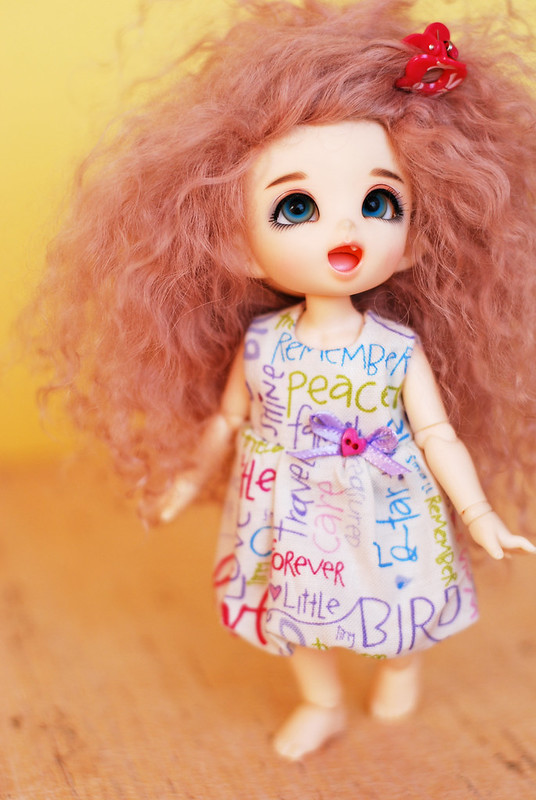
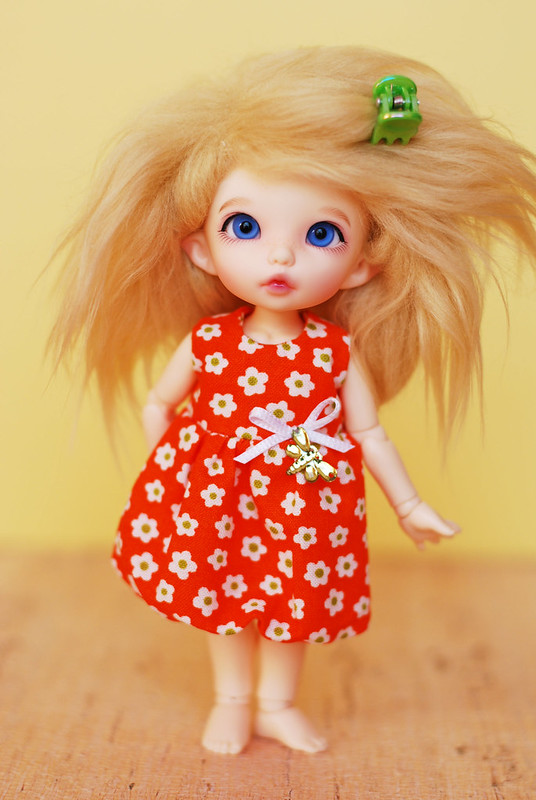
After going through about four prototypes, I'm feeling really great about the final pattern I've got. Working out pattern details is so frustrating for me - just look like the image in my head already! But I'm glad I stuck it out because these little guys are dang cute! Now I'm working on a pattern for YoSD size. I'll have a follow up post soon on the new sewing tools I got to make these possible. For now these cuties are available in my Etsy shop.

Sunday, October 19, 2014

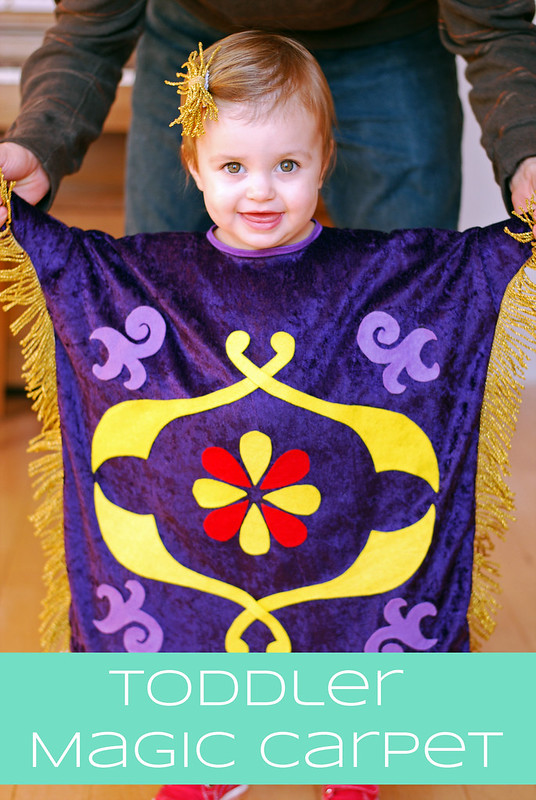
Family Aladdin Costume Part 2 - Toddler Magic Carpet Costume


Check out part one of our Aladdin family costume in my previous post for details on our Genie and Jasmine costumes.

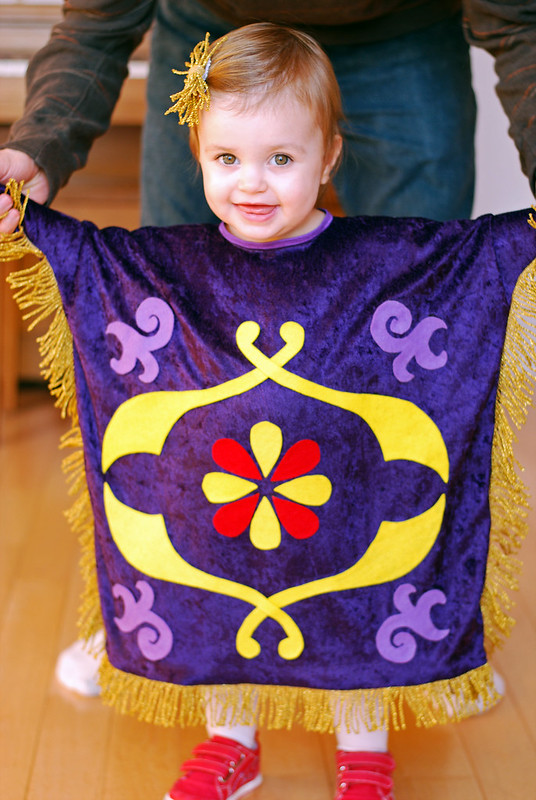
When we decided on an Aladdin Halloween costume theme, I went around and around debating which character we should make Little Plum. In the end we decided on the magic carpet, and I couldn't have been happier with how it turned out! After the initial design process, the costume was actually pretty simple to construct. Here are all the details in case you, too, would like a tiny magic carpet in your life!

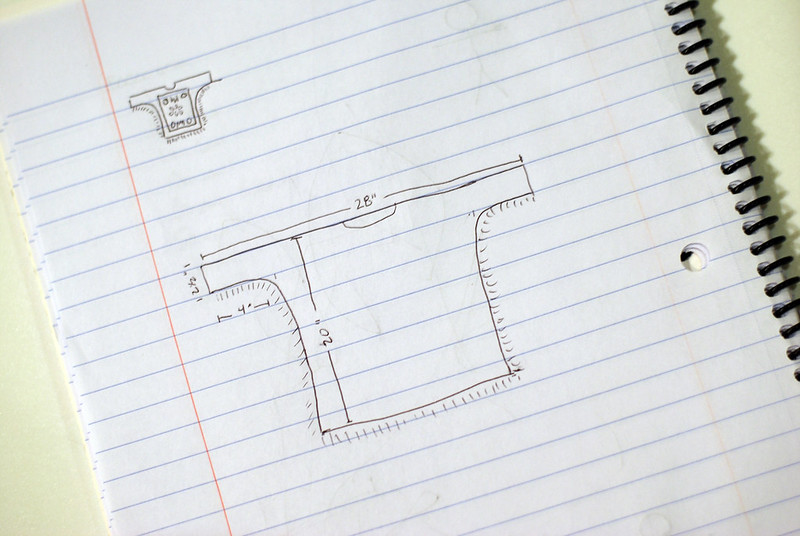
I wanted the costume to have a bit of a flying squirrel quality, but I wanted Little Plum to be able to walk by herself as well. With this in mind, I decided on a dolman type sleeve and left the bottom of the costume open. I measured Little Plum's length from neck to ankle and her arm span to get the general costume dimensions. (In reality I chased her around with a tape measure for 20 minutes, then measured a pair of her pajamas!) Then I added little sleeve-like openings that went from her wrist to her elbow. This is all much easier to see in the design diagram below!


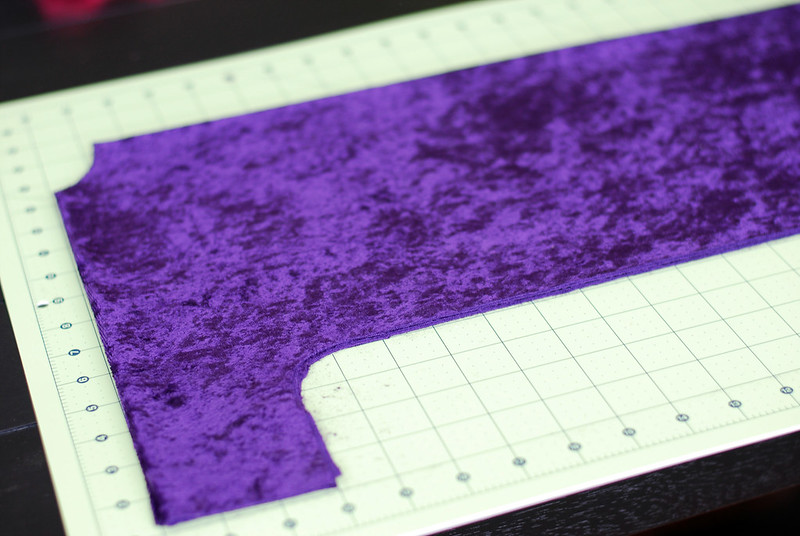
With the general dimensions determined, I cut the fabric using my ruler and rotary cutter rather than drawing out a pattern. I had the fabric folded in quarters when I cut, with a fold along the top edge and a fold down the middle. I just eyeballed the curve from sleeve to body, and since the fabric was folded I knew the two sleeves would match. I also free-handed the neck opening, using her pajama top as a guide. We were left with basically a huge poncho at this point.


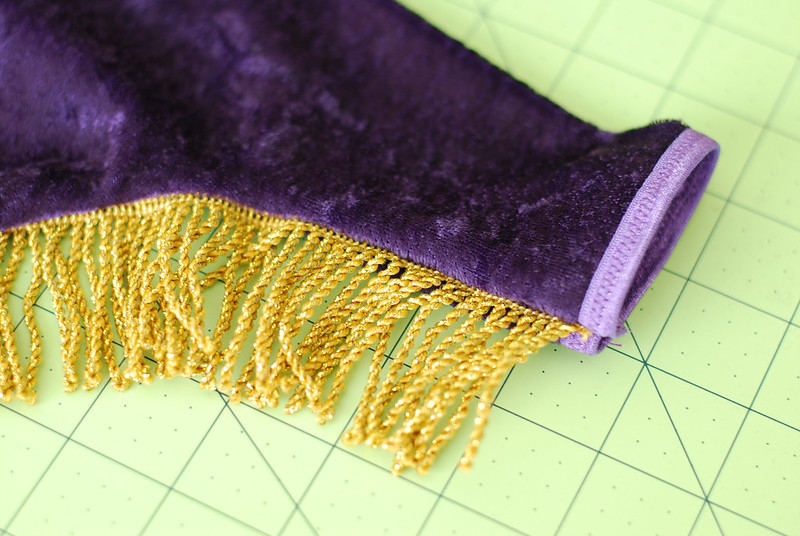
To sew it up, I began by heming the bottom edges using some great gold tassel trim. Then I sewed up the side seams with more tassel trim sandwiched in between. I finished off the wrist and neck openings using fold over elastic with a zig-zag stitch. I'd never used fold over elastic for more than hair ties before, and it was a huge pain to sew, but it really made the difference in having the costume look finished and professional.


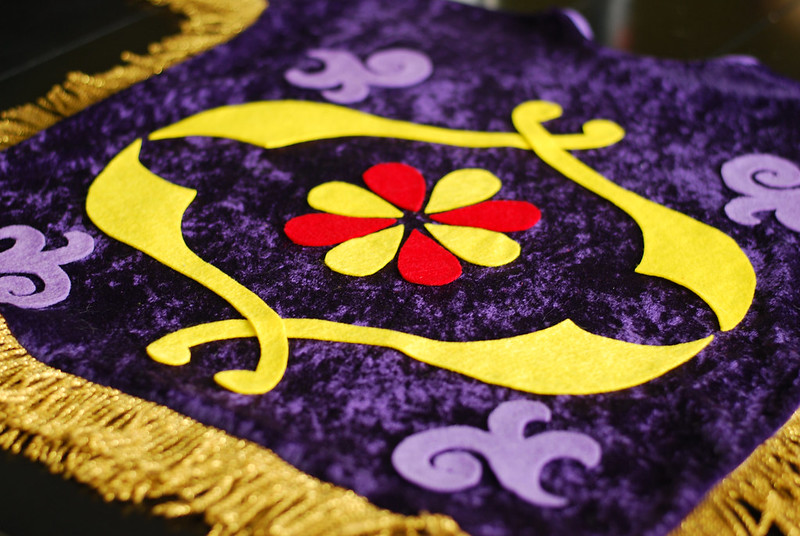
Now it was time to decorate the carpet! I relied heavily on costumes from the Aladdin musical and the few I could find on Pinterest to determine the carpet design. The final design is true to the movie carpet, but only features the center-most portion if the design since I was working on such a small canvas.


I made three patterns for the basic shapes - the tear drops, the swords, and the purple claws. I cut all the shapes out of felt and placed them on the costume starting at armpit level so that the design wouldn't be too distorted with her arms at her sides.


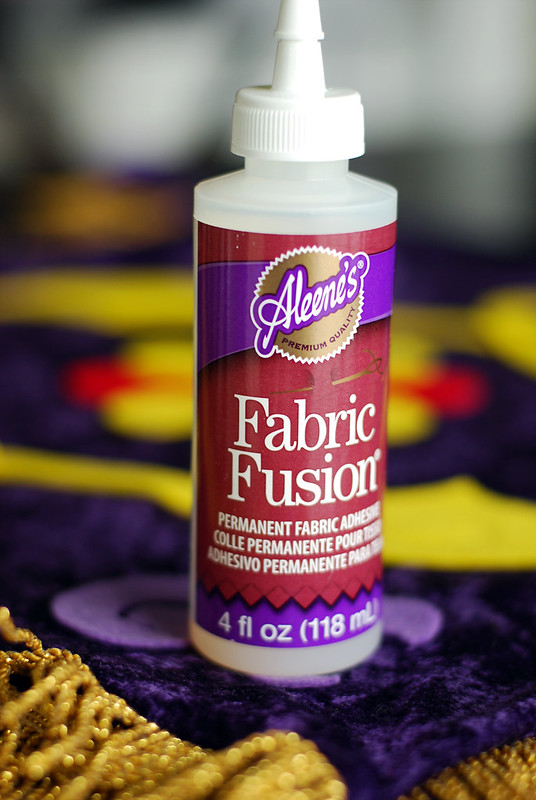
I used fabric glue to attach the felt to the costume. Initially I let the pieces dry about an hour before trying it on and was disappointed that they were easily peeling off. I set it aside for a day and when I came back they were solid as a rock! Lesson learned - let fabric glue cure for 24 hours or so.

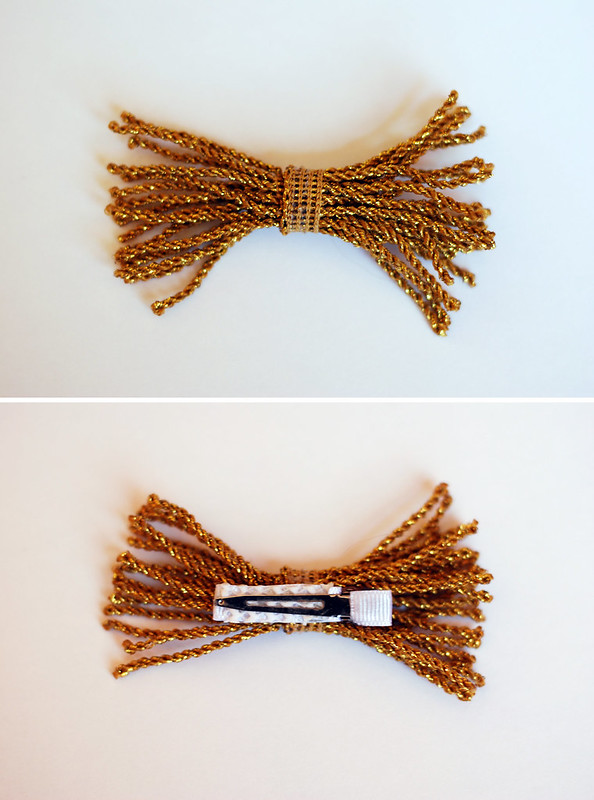
I finished off the costume with a hair bow made out of the gold tassel trim. I just rolled the trim up and hot glued it in place before attaching it to an alligator clip. I added cheap non-slip shelf liner to one side of the alligator clip to keep the bow from slipping.


Pictures totally don't do justice to just how hilarious this costume is in real life! When she moves her arms and the carpet flaps around you can't help but giggle, especially with all those tassels.


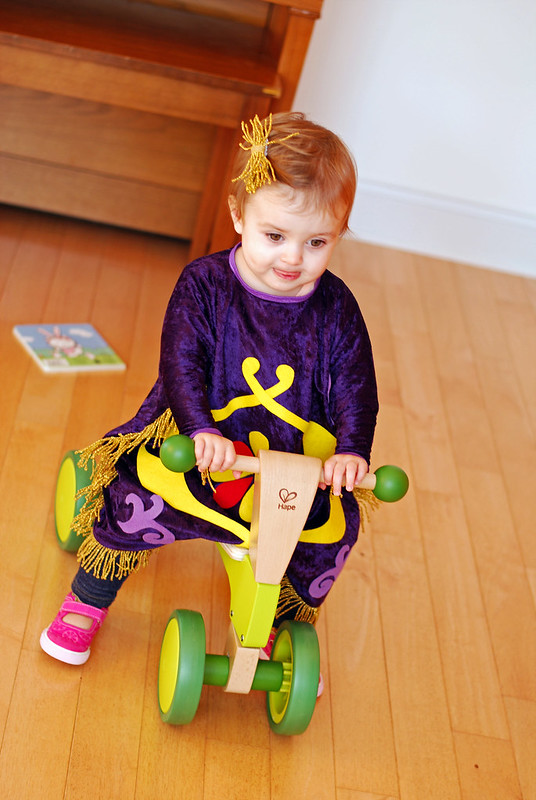
The true success of the costume is the she actually loves to wear it! Once the glue fully cured there was no way she could pick the felt pattern off, and it is super easy to put on and take off. But most importantly it doesn't hinder her movement at all, which is of course top priority when you have an oh-so-busy toddler on your hands. It's even tricycle approved!


I hope this tutorial was helpful if you find yourself needing this oddly specific costume! A magic carpet wasn't necessarily the obvious choice when we were thinking about Aladdin characters, but the costume ended up being fairly simple to construct, totally recognizable, and completely hilarious!

I hope you're enjoying the Halloween season and having fun dressing up!

Thursday, October 16, 2014

Family Aladdin Costume


It's Halloween costume time!

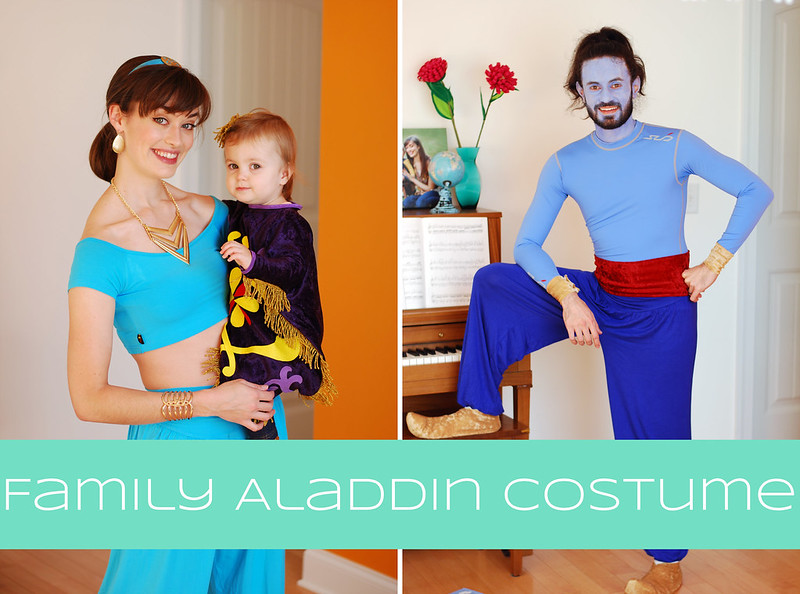
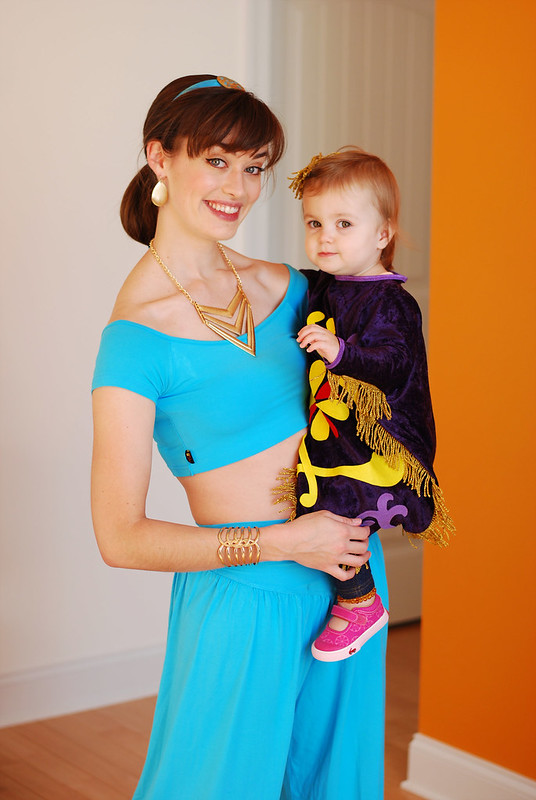
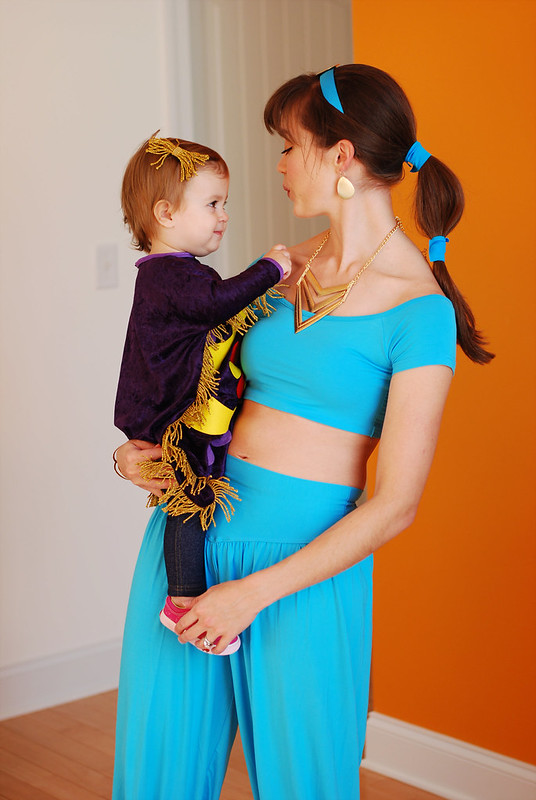
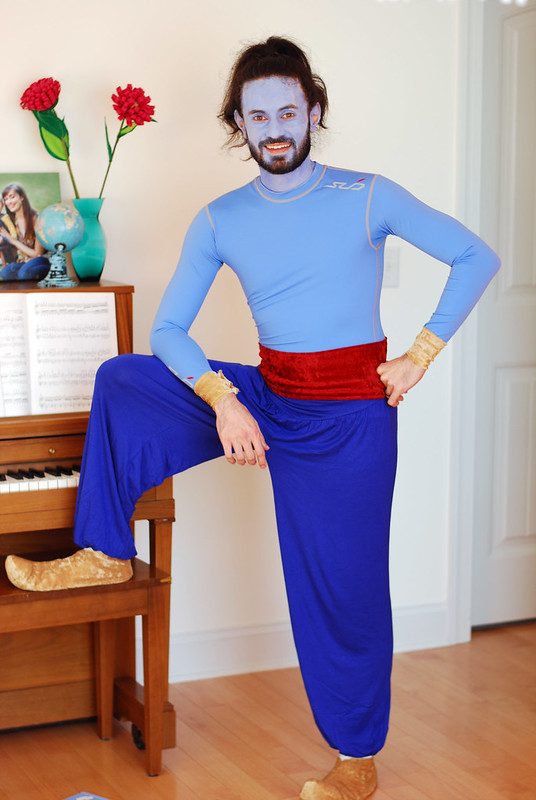
This costume needs just a little bit of explaining. We go to a themed party every year, and this year's theme was Robin Williams. While there's no shortage of costumes to fit such a theme, we were looking for a family friendly option. So we decided to paint Mr. Plum blue! Ok, ok, that wasn't the only reason we picked Aladdin, but it was definitely a bonus! Mr. Plum was obviously the Genie to include Robin Williams' roll in the film, I went as Jasmine, and Little Plum was the magic carpet. I'll give you the break down on the adult costumes in this post. The fabulous toddler magic carpet costume deserves a post all it's own!

The basics of our adult costumes were dance costumes (our harem pants and my top). We purchased ours from Amazon, but you can find them much cheaper on eBay if you order well in advance to account for international shipping. A note about sizing - Mr. Plum and I are both wearing extra larges! The sizes are Asian and teeny tiny! I had to completely remove the elastic from the waistband of my pants to make them lay right. The fabric is stretchy enough that I didn't replace the elastic with anything, I just left it out all together.


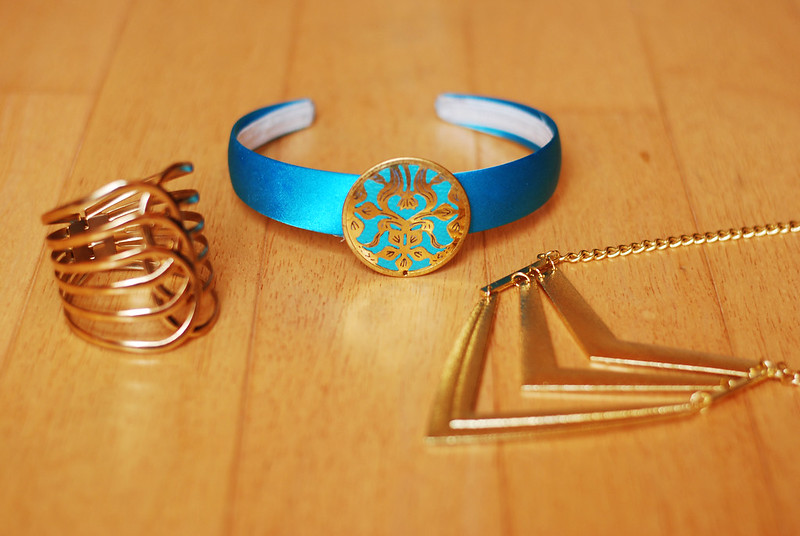
My costume was simple enough to finish off with some gold jewelry and gold ballet flats. My headband and it's embellishment are from Joann's.


My ponytail holders were covered with strips of blue fabric secured with Velcro dots. And that's it! Easy peasy.

Mr. Plum's costume had a few more DIY details to really make it true to the movie. His top is a light blue athletic compression top (also purchased from Amazon) so that we didn't have to paint his entire body!

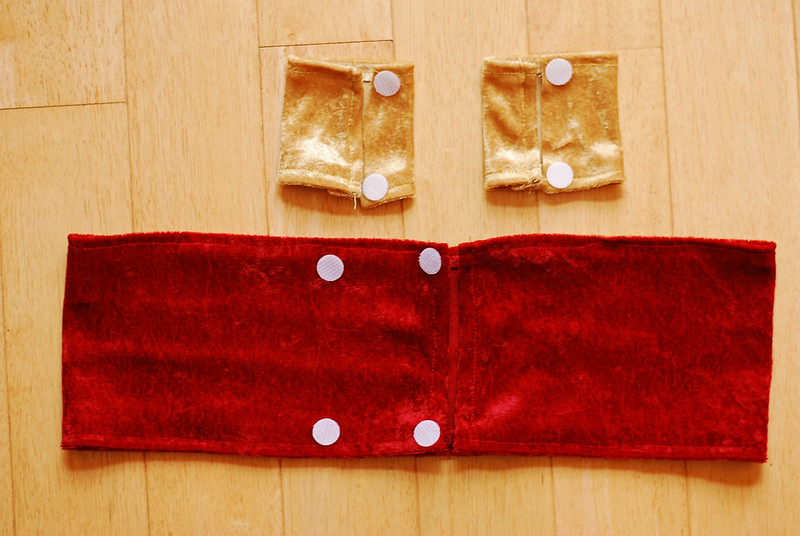
We finished off the costume with a simple red sash sewn from red stretchy velour fabric and gold wrist cuffs sewn from a similar fabric. Both secured with Velcro dots.


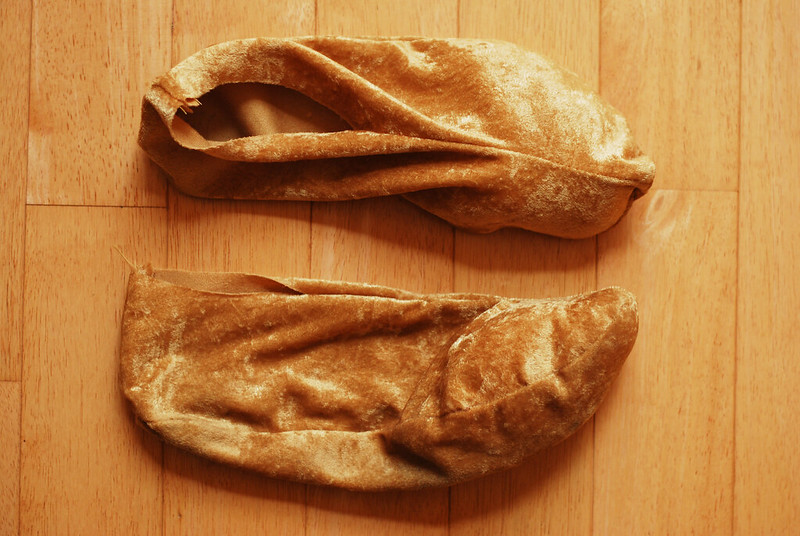
The genie shoes were a bit of a last minute complication. We set out to buy some jester shoes the day of the party, but it turns out those aren't exactly a hot costume item this year and nowhere carried them. Rather than break character, Mr. Plum promptly took me to the fabric store and demanded requested that I sew him some genie shoes. Here are the steps I followed in case you need to make your own last minute genie shoes!

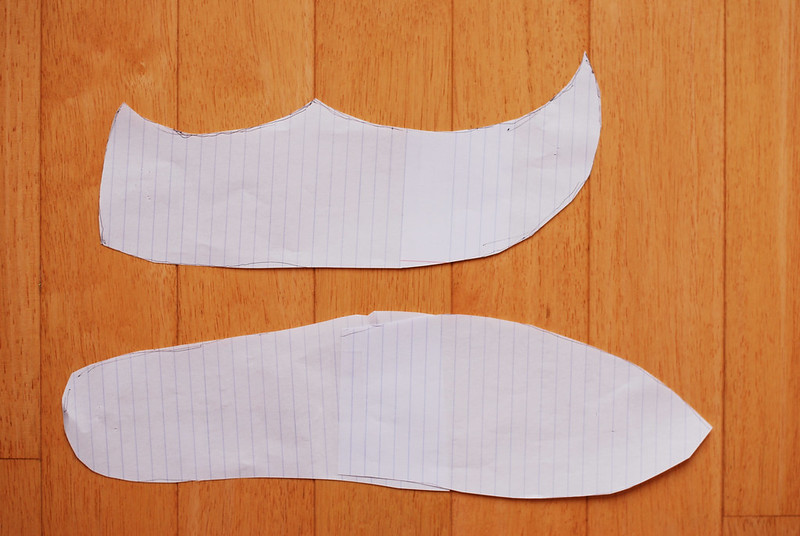
Start by tracing the sole of a low profile shoe (I used Mr. Plum's running shoes) and add a point off the toe approximately the length of the curl you'd like on the shoe.


Next trace the side of the shoe, adding the curled toe using the length of the sole pattern as a guide for the length of the curl.


Cut two soles and four sides from stretchy fabric. I used the same gold velour used for the genie wrist cuffs. I added approximately 1/4 inch seam allowance to the side pieces. I didn't add any seam allowance to the sole pieces (the thickness of tracing around the tennis shoe made up for it).

Begin assembly by sewing the two side pieces together at the heels and along the curved top, right sides together.

Now that you have the two sides attached, sew the sole onto the sides with right sides together. You may have to fudge a bit with this step (especially if you made your pattern in, say, the last 15 minutes before you needed to leave the house!). I made sure to line up the toe seams and left any fudging to be done on the heels since that wouldn't be seen as much. Also be prepared to use about a thousand straight pins to hold all those curves together. Once the sole is sewn on, turn everything right side out and you should have a shoe.


I added a little stuffing to help the toes keep their shape. If I'd had more time I might have finished the ankle opening, but since this was eleventh-hour-speed-sewing I just left that portion unfinished.

That's it for our Jasmine and Genie costumes. In the end our DIY versions weren't much cheaper than pre-made costumes, but the pieces are much more versatile and I know we will use them again (harem pants are comfy, yo!). I'll share all the details of Little Plum's magic carpet costume in my next post.

Sunday, September 21, 2014

DIY Baby Lobster Costume


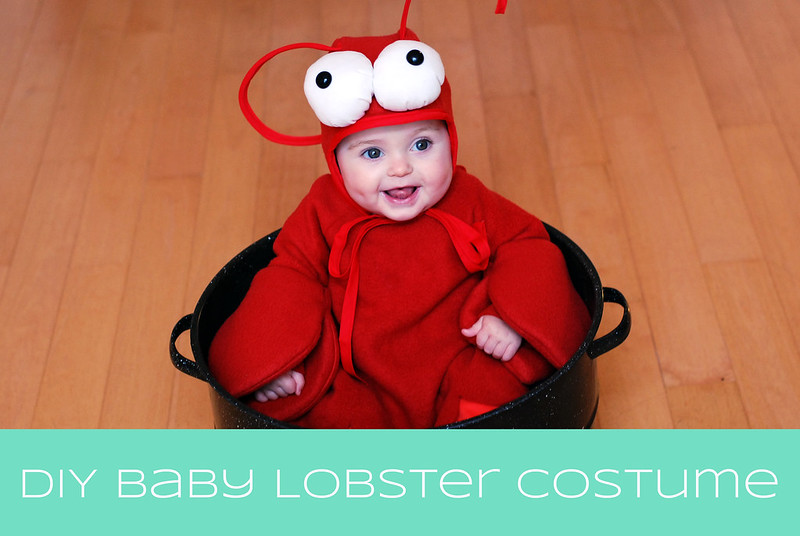
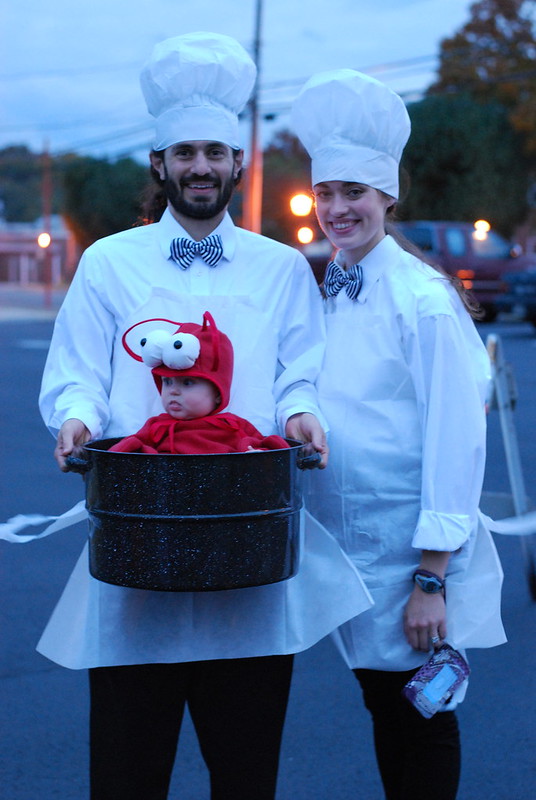
We are all about costumes at our house! Any excuse to dress up is a win in my book. With Halloween approaching I wanted to share Little Plum's DIY costume from last year (I'm still busily plotting Halloween 2014!). We go to a themed party each year, and last year was our first attempt at incorporating a baby into our costumes. We needed something easily tote-able as Little Plum was not yet walking. After some brainstorming and Pinterest searching, we settled on chefs with Little Plum as a lobster. The adult costumes were easy enough. We grabbed some cheap catering aprons, chef hats, and bow ties all from the craft store. Done.

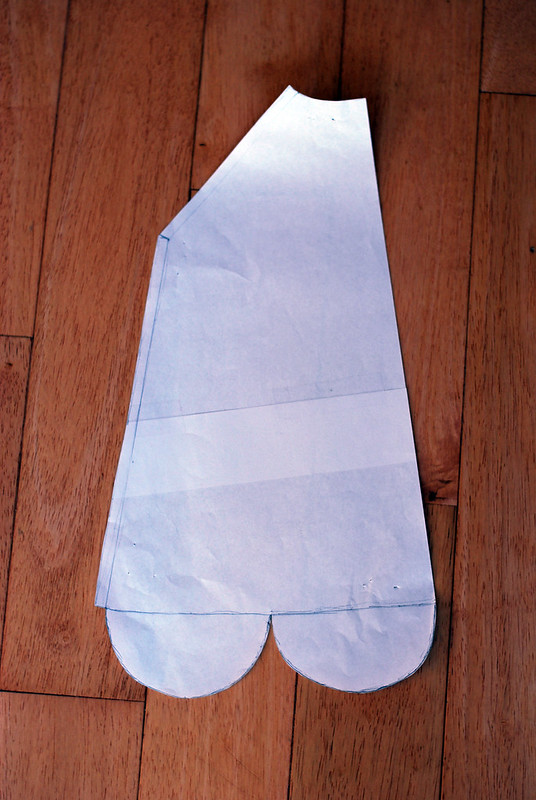
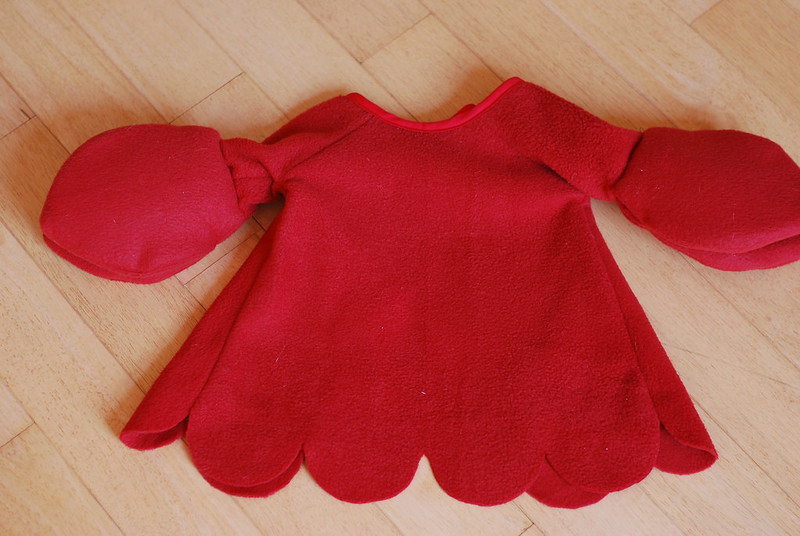
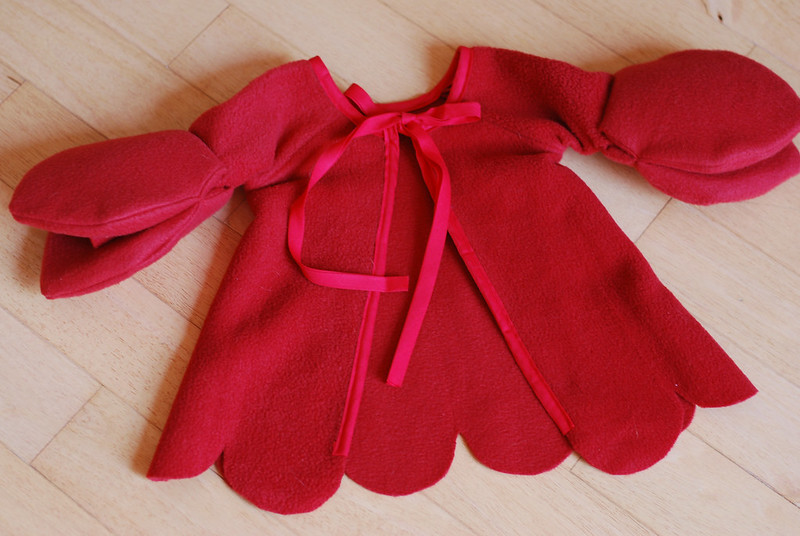
For Little Plum, I knew we needed something comfy and easily removable in the event of baby rage or dirty diapers. I began by tracing a pattern from one of her shirts with raglan style sleeves (think baseball-tee sleeves) because these are way easier to sew than set-in sleeves. I added large scallops to the bottom hem to make the lobster tail.
 
Body pattern
The whole costume was made out of fleece to minimize hemming. I finished off the back and neck openings with coordinating bias tape, leaving the ends long so that the costume tied like a smock over her regular clothes.

Front View
Back View
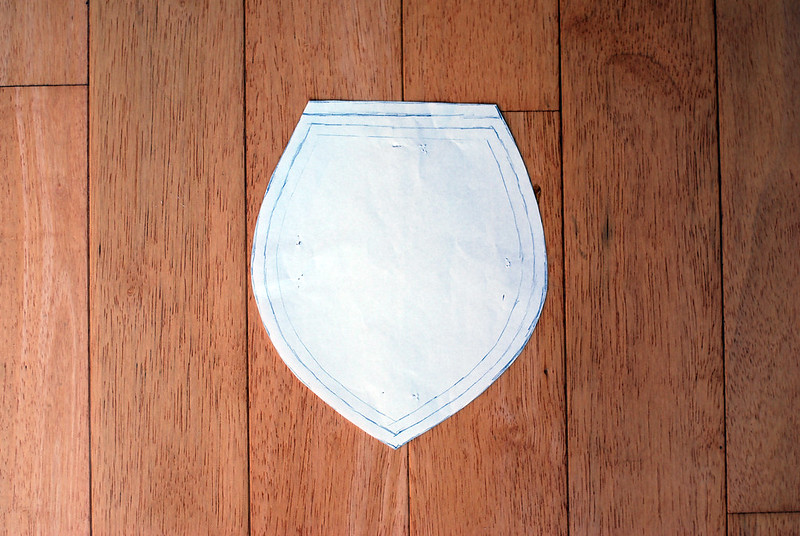
For the claws, I measured the width of her sleeves and the length from elbow to wrist to get the general claw dimensions, then free handed a claw pattern, leaving enough seam allowance to stuff the claws with 1/4 inch foam. I also left a large seam allowance on the back end of the claws to give me plenty of room to attach them to the sleeves. I made four claws total, two for each arm.

Claw pattern - the back edge is the width of the sleeves
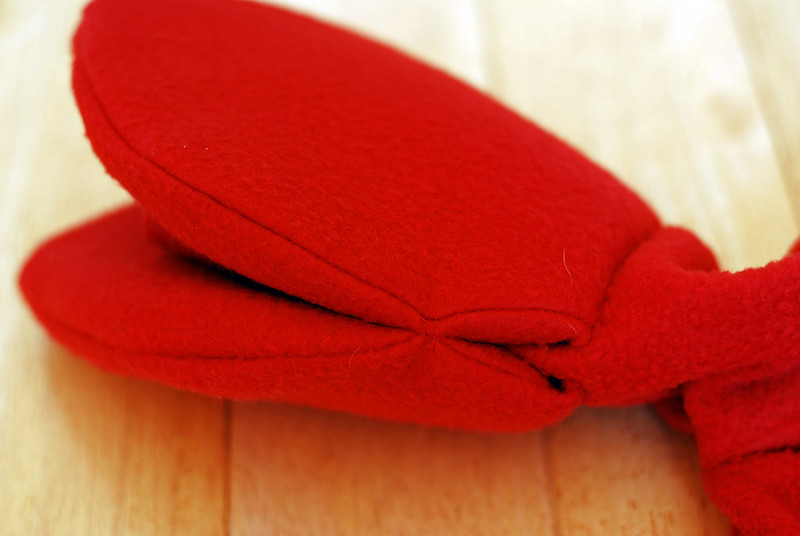
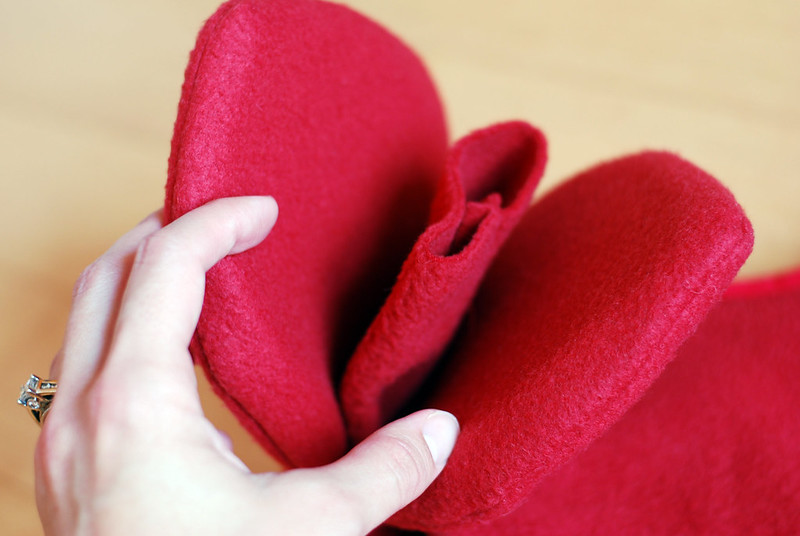
I chose to sew the claws on about half way up her arms so that she would have easy access to her hands. I attached two claws to each sleeve by hand, first sewing each claw on and then tacking the two claws together on each side.

Detail view of where the claws were attached and then tacked together
Here you can see how much sleeve was poking through the claws
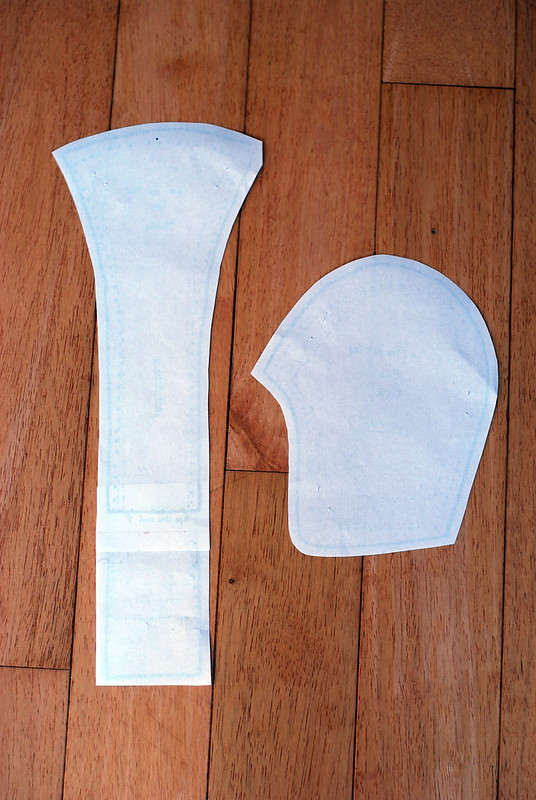
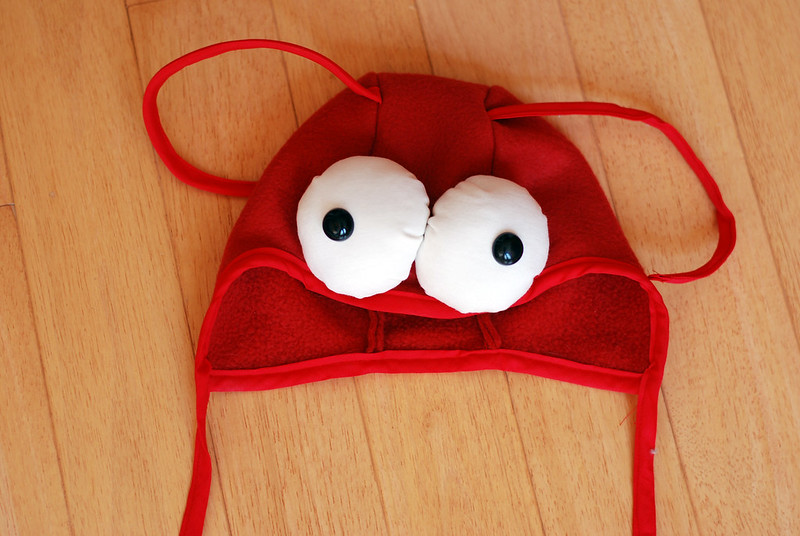
The hat was another bit of tricky business. I ended up heavily modifying a pilot cap pattern to fit Little Plum's massive noggin. A pilot cap has two seams down the crown which is the perfect place to attach antennae.

Hat pattern
I made a casing out of bias tape and stuffed it with pipe cleaners for the antennae, which I then sandwiched into the pilot cap seams prior to sewing it up. I finished off the edges of the cap with bias tape, leaving long tails for ties. The antennae are a little floppy when the hat isn't on a head. I left the casing extra long on the inside of the cap so that no pipe cleaners were jabbing into baby heads.


The hilarious Muppet-like eyeballs totally make the costume! For those, I cut out large circles from white knit fabric. I attached solid black safety eyes to the center of the circle (you can find safety eyes in the bear/doll making section of most craft stores). Then I just hand stitched a quick running stitch around the perimeter of the circle and stuffed it full of fiberfill as I pulled the stitches tight. Once the eyeballs were stitched closed, I tacked them onto the hat by hand.


Overall I was super pleased with how the lobster costume turned out. It was completely tolerable to a baby and looked freaking hilarious! We carried her around in a huge canning pot lined with bath towels.

Do you DIY Halloween? Do you have a family costume theme?