One of my goals for 2015 is to share my crafting and doll space with you, but that requires me to actually get the space presentable first! After the holidays my craft room is in serious need of some organizational TLC, but I wanted to go ahead and share some of the systems that are working really well for me right now.
I want to begin by showing you the setup I use to take the majority of my doll photos. I love to see "behind the scenes" doll photos and learn how people organize and stage their photos. The system I use has evolved considerably over the years, mostly through trial and error.
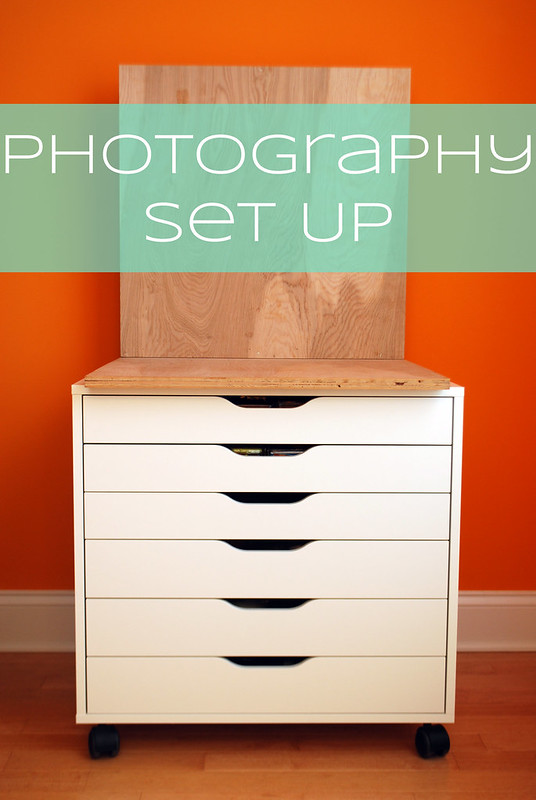
The base of my photo station is the 6 drawer Alex unit from Ikea. I love that I can easily wheel my whole photo station around the house since the very best natural light is in our dining room.
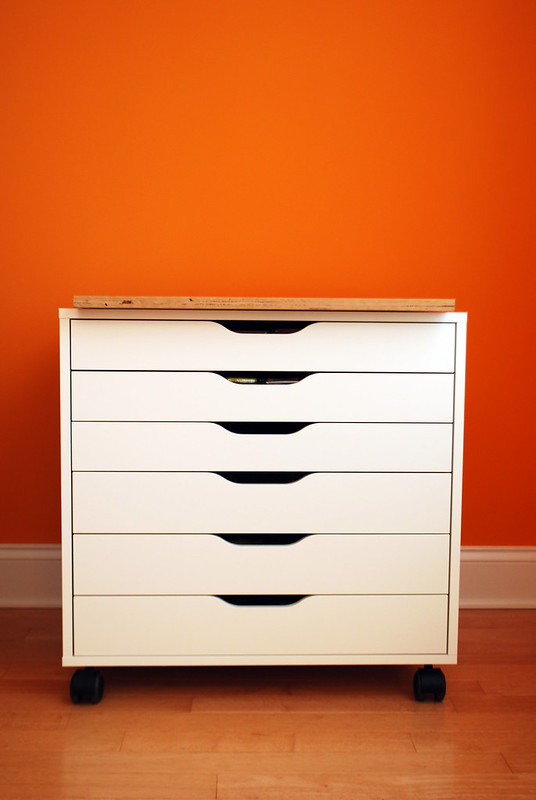
Stored on top of the drawer unit is an L-shaped wooden backdrop that my dad built for me.
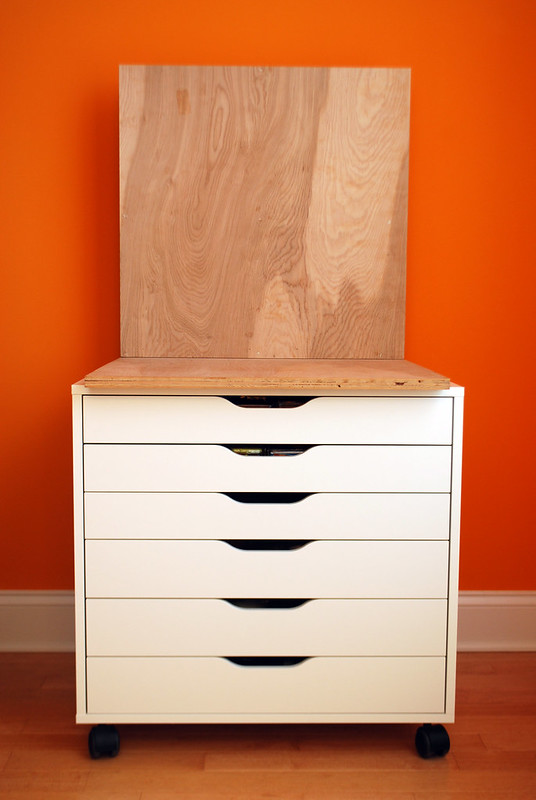
I love that this backdrop fits perfectly over the Alex drawers, so it doesn't take up any extra space in the craft room when not in use.
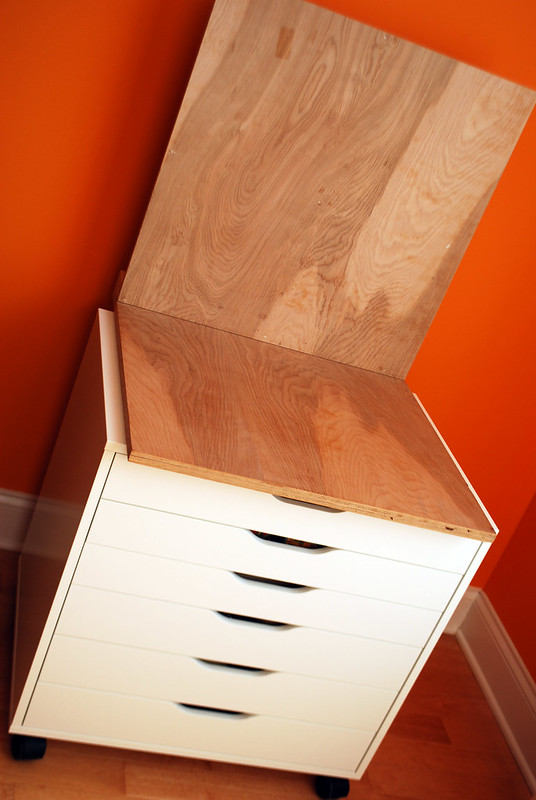
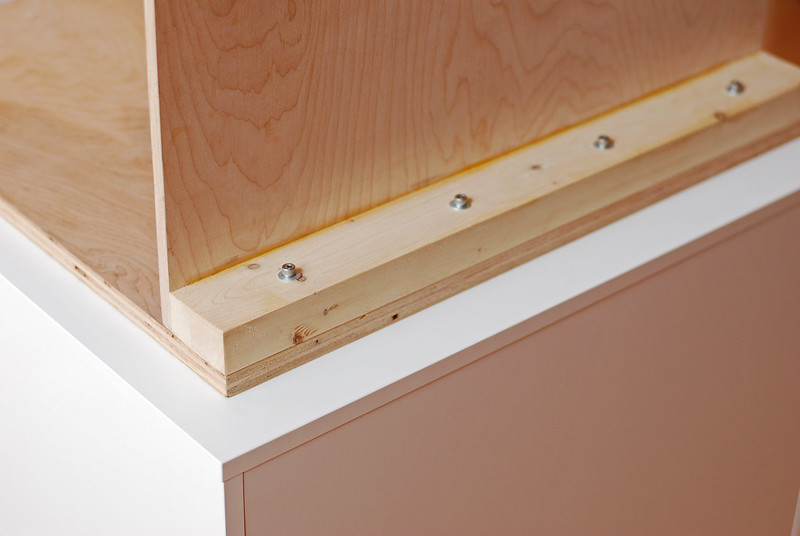
The backdrop is made from two pieces of plywood that are each two feet square. The upright board is attached to a smaller piece of wood which then screws into the base. The types of screws used allow me to easily disassemble the backdrop if needed.
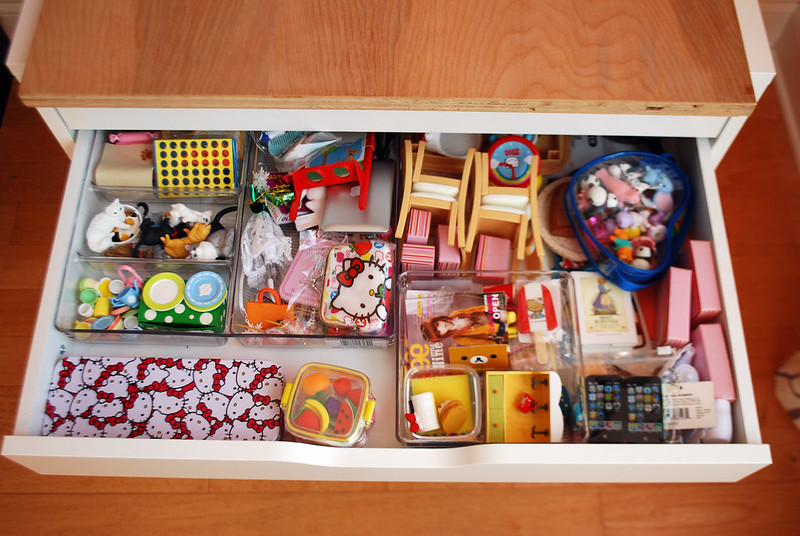
The top three drawers of the Alex unit hold the majority of my photo props. The top drawer holds Re-ment and other miniatures. It looks a little chaotic, but I promise there is a method to the madness! I organize my Re-ment by type rather than series, so categories in my dividers include things like snack food, school supplies, serving pieces, kitchenware, etc. The second drawer holds some overflow Re-ment as well as larger scale props for my MSD and SD sized dolls.

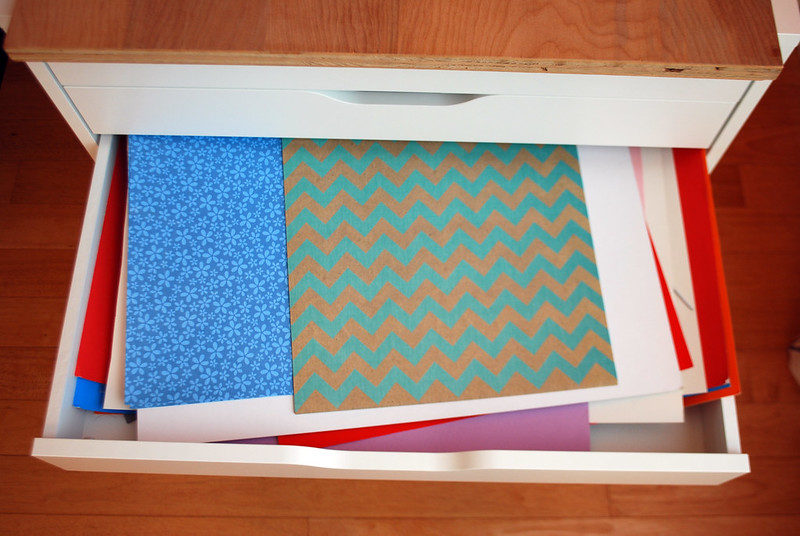
The third drawer holds all my photo backdrops. I primarily use colored posterboard, but I have a fair amount of scrapbook paper as well. I like the poster board because I can get larger pieces, which is helpful for dolls taller than 12 inches.
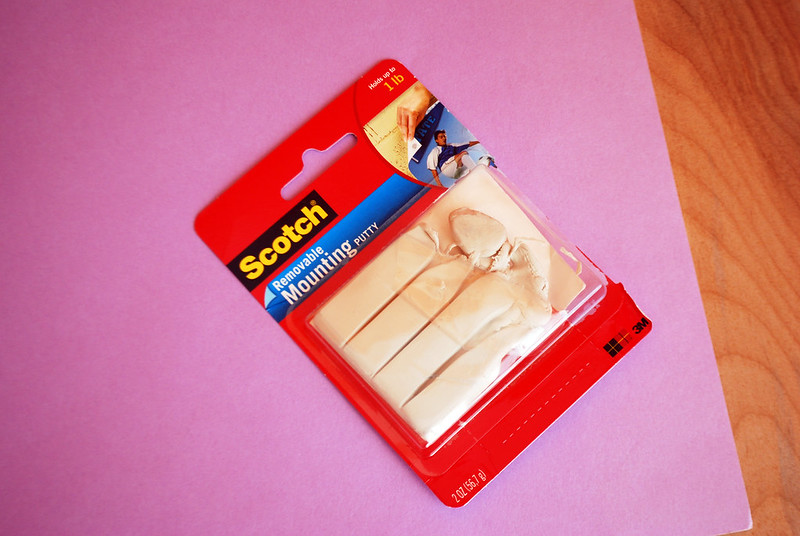
I attach the paper to the wooden backdrop using poster putty.
Here is what it looks like with a doll ready for photos. I'd like to say that I get all professional with a tripod and such, but usually I'm frantically snapping away in an awkward crouch while screeching "Don't touch! No hands!!" at the almost-two-year-old who is typically circling me like a shark at this point, gleefully squealing "BABY!" while brandishing a crayon like a saber at my helpless photo subject. #toddlerproblems

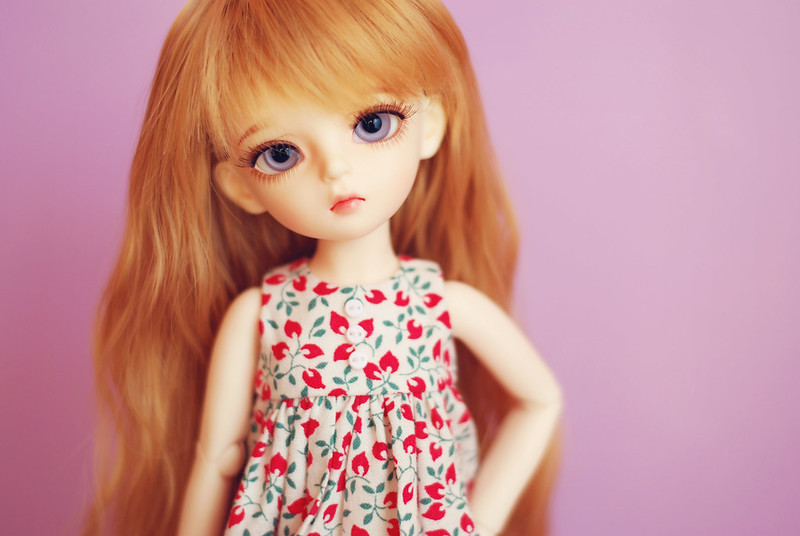
Here are the results of the above photo shoot (and twister-like toddler avoidance dance!). I switched to my 50mm lens for these and did just a little bit of Photoshop processing. Not too much Photoshop for me because I've barely scratched the surface on all there is to learn about that program!
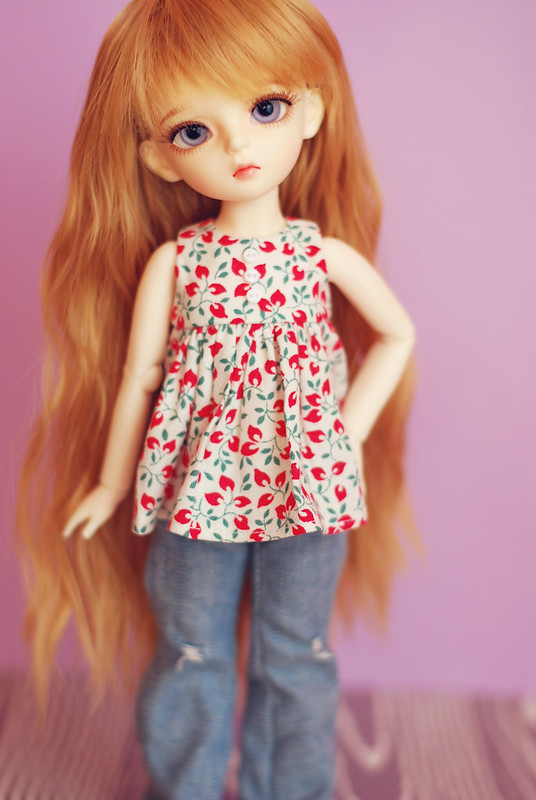
I do also take photos with dolls on the floor, especially for my bigger girls, but that requires someone else home to entertain and contain our
While it can be a little time consuming to set up and tear down each photo shoot, I really like that everything tucks away out of sight (and out of reach of little hands!) when I'm done. The only real downside of this system is that sometimes my photo angle gets too wide for the backdrop, especially if I'm trying to incorporate lots of props. One of my many project goals for this year is to create some diorama backdrops with more detail on the walls - maybe by using those tri-fold poster boards that are made for science fair projects? I haven't worked out all the details yet.
So that's the behind-the-scenes view of my dolly photography. I'd love to hear about your system or any tips or tricks you might have! Even after years in the hobby I have still never figured out how those amazing photographers get their dolls flying and riding bikes - are they all Photoshop wizards? Tell me if you know!!