Thursday, March 5, 2015

Tips and Tricks for Sewing Tiny Doll Clothes


I don't know about you guys, but sewing doll clothes has (until recently!) always been mysteriously frustrating for me. I just couldn't figure out how other people were doing it so successfully. My sewing machine would invariably gobble up those tiny seam allowances, leaving me cursing violently understandably frustrated while trying to yank my dress back out of the stitch plate. Even if my sewing machine didn't maul my dress to complete tatters, I could never quite master that professional finish. Thankfully I've stumbled upon some new tools and techniques that make this process SO MUCH easier, and I'm finally making finished produces I'm excited about. I'm so happy to share these tricks with you!

First off, stop everything you're doing and get yourself a straight stitch plate for your sewing machine (I just Googled to find one that fit my sewing machine model). This magical device completely eliminates the sewing-machine-eats-tiny-seams phenomenon!
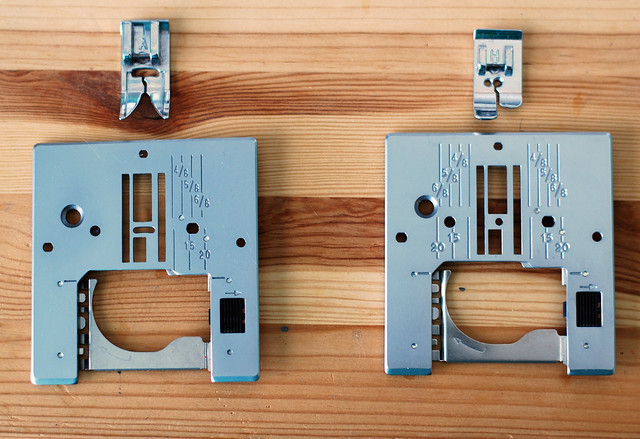
Default needle plate on the left - Straight Stitch needle plate on the right
The difference is the size of the hole available for the needle to go through. On the default plate, the hole for the needle is wide enough to accommodate your widest zig-zag setting. This gap is where your fabric gets sucked down into oblivion. On the straight stitch plate, the hole for the needle is teeny tiny, so no fabric can be pulled down. Just remember you can only do a straight stitch with this needle plate in place!


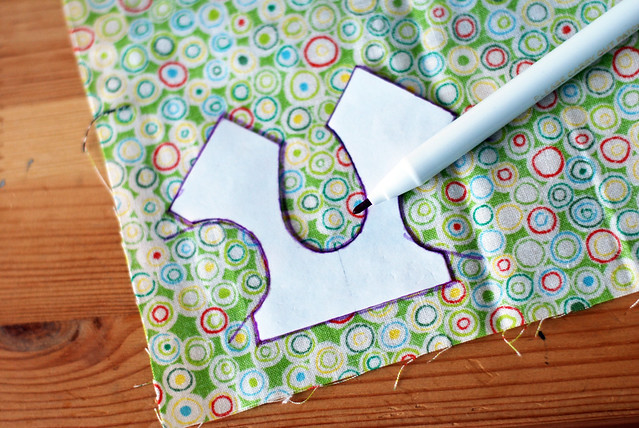
My next tip is to only cut your fabric when you absolutely have to. In the spirit of avoiding those frustrating tiny seam allowances, I've started tracing my bodice pattern directly onto my fabric using a vanishing ink pen. Then I just cut out two squares of fabric and sew along my tracing lines.


I cannot emphasize enough just how much easier this is! My finished pieces are much more precise since I'm sewing directly on a line, and the fabric is much less likely to unravel while sewing. Just be sure you pay attention to which lines you're supposed to be sewing at each step in your pattern.
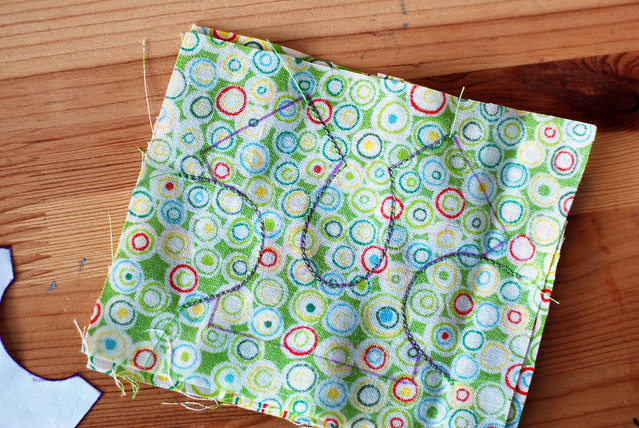
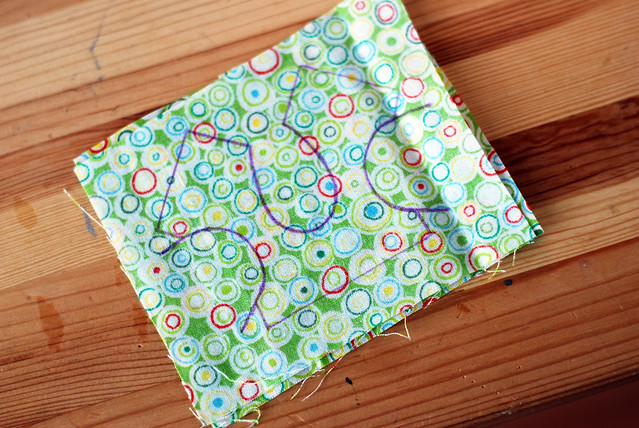
Here I've stitched around the neck and arm openings of the bodice
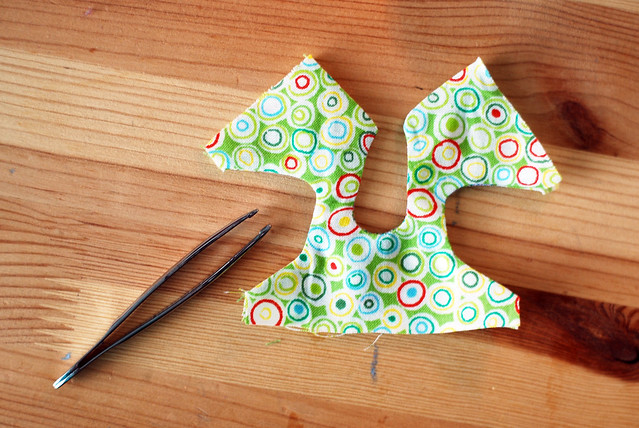
Once my seams are sewn, I can trim down the finished piece. Just be sure to leave a seam allowance where you need one for future pattern steps (like on the bottom of the bodice to attach the skirt).


I use these blunt tweezers to turn my tiny pieces right-side-out. The trick with using tweezers is to not pull the fabric. Just use the tweezers to hold the corner still while you turn the rest of the fabric AROUND your stationary tweezers (does that make any sense?). You don't want to be pulling and tugging with the tweezers because you're likely to rip a hole in your fabric.


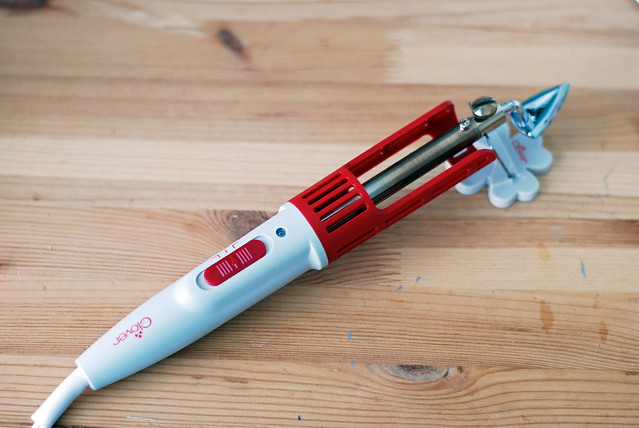
Finally, this mini-iron from Clover is the magical finishing touch to making things look nice and professional.  A full size iron is way too big for these tiny pieces, especially if you're trying to do anything precise at all (and aren't looking to begin a life of crime by burning off your fingerprints!). This tiny iron is perfect for getting all those little corners crisp and square. Just be careful - that post in the middle gets super hot!


And the finished results!


Those are my tricks for sewing tiny doll clothes - get a straight stitch plate, trace your pattern, and get a tiny iron for finishing. They have seriously changed how I view sewing for dolls and made the whole process so much less frustrating and more fun. And isn't fun what it's all about?

Do you have any tips for sewing doll clothes or other tiny things? I'd love to hear them!
Tuesday, February 17, 2015

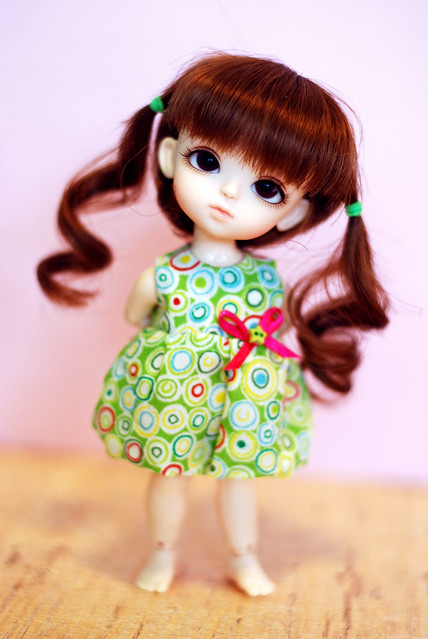
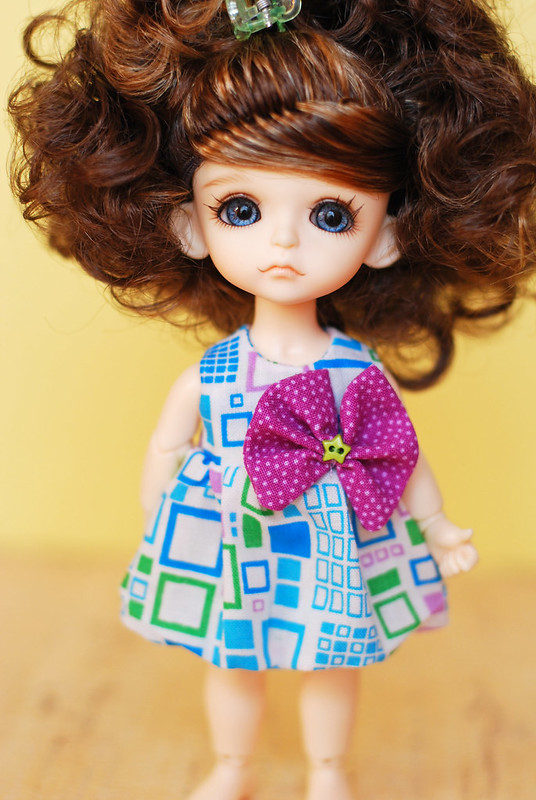
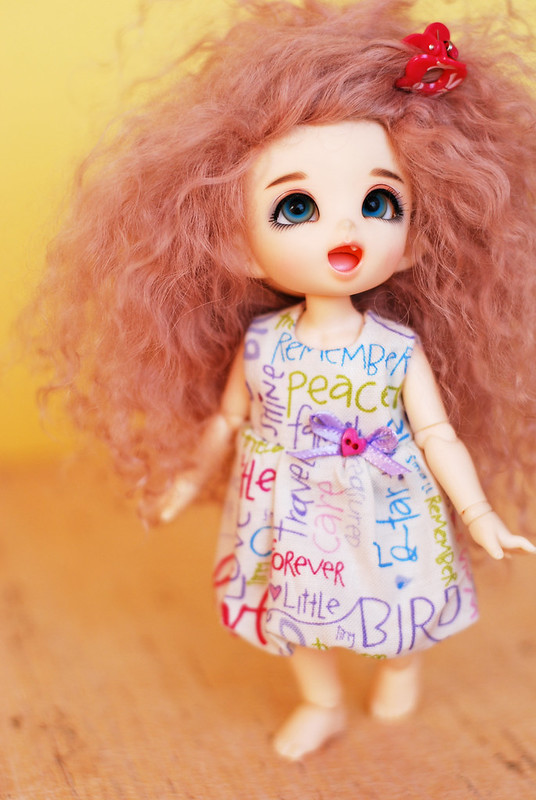
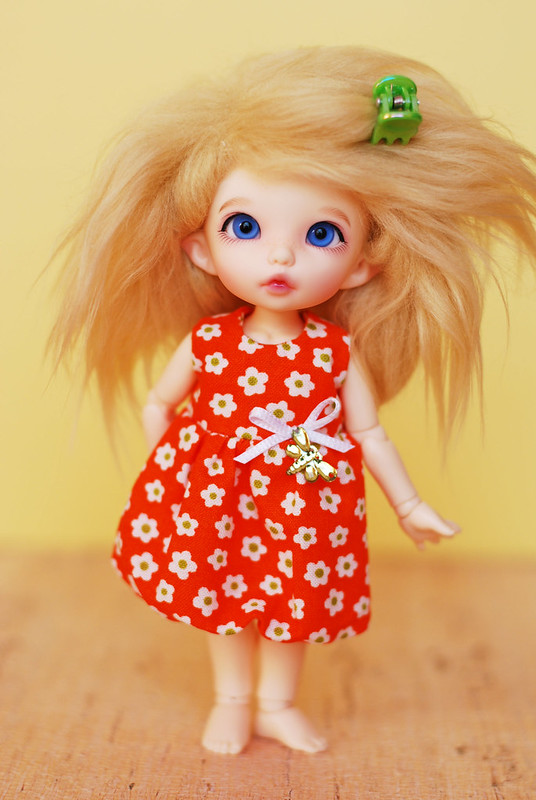
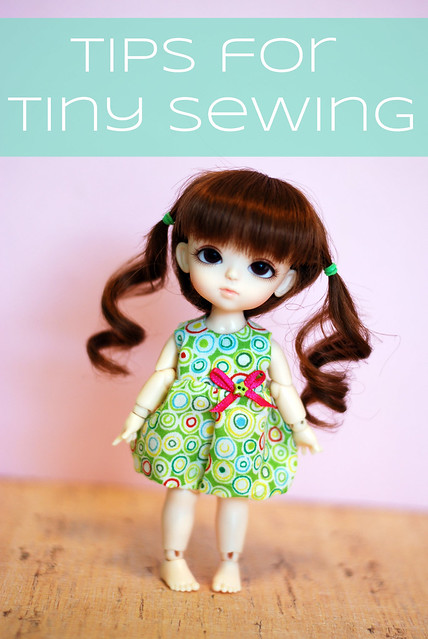
Tiny Bubble Dresses


All other crafting has come to a grinding, screeching halt in my house. I must make all the bubble dresses!


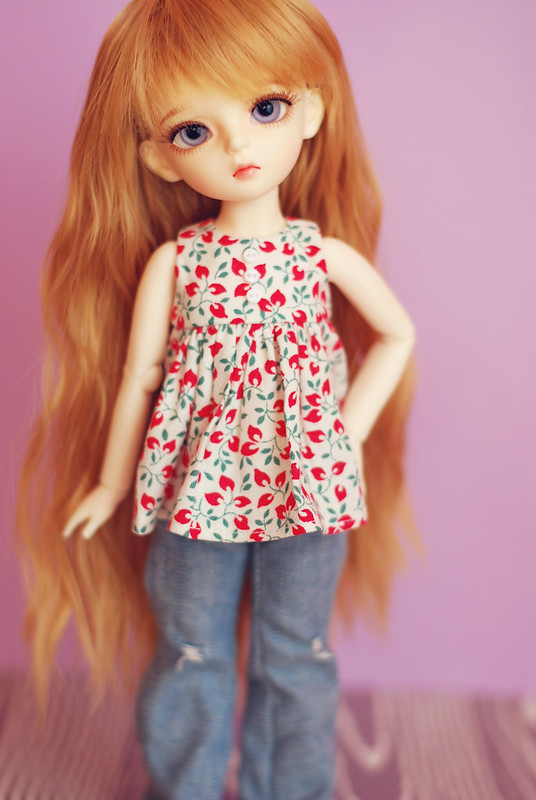
After going through about four prototypes, I'm feeling really great about the final pattern I've got. Working out pattern details is so frustrating for me - just look like the image in my head already! But I'm glad I stuck it out because these little guys are dang cute! Now I'm working on a pattern for YoSD size. I'll have a follow up post soon on the new sewing tools I got to make these possible. For now these cuties are available in my Etsy shop.

Friday, January 30, 2015

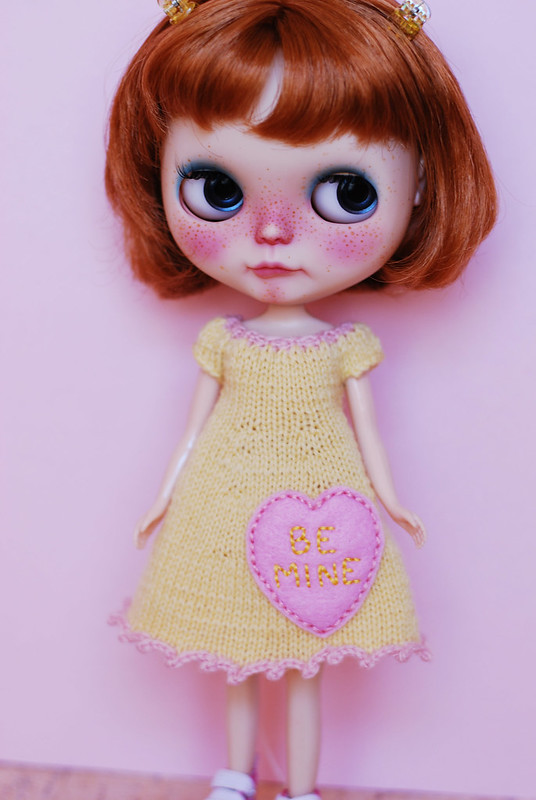
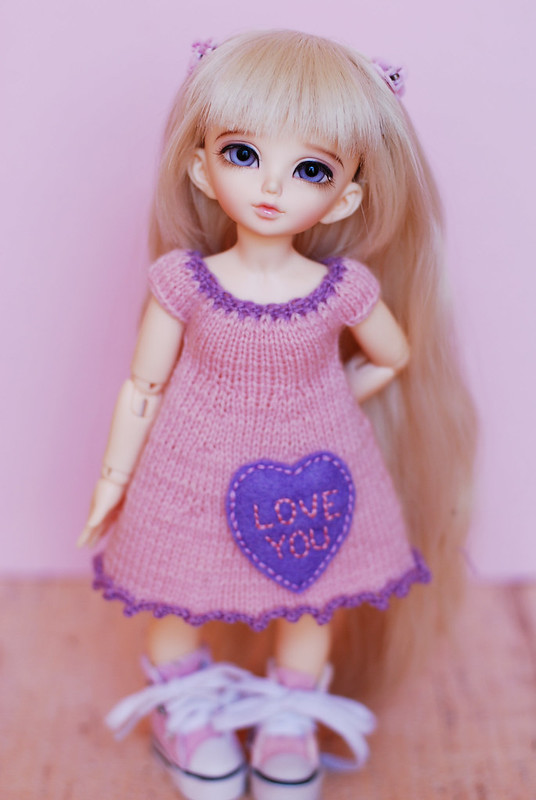
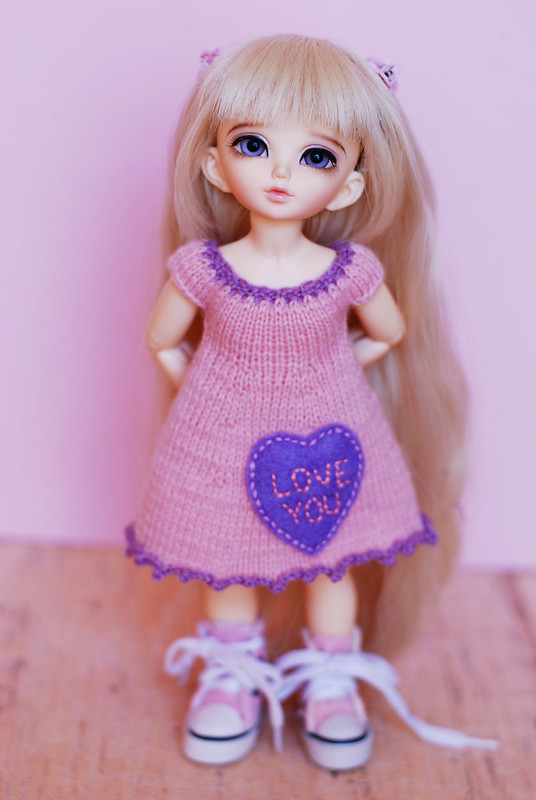
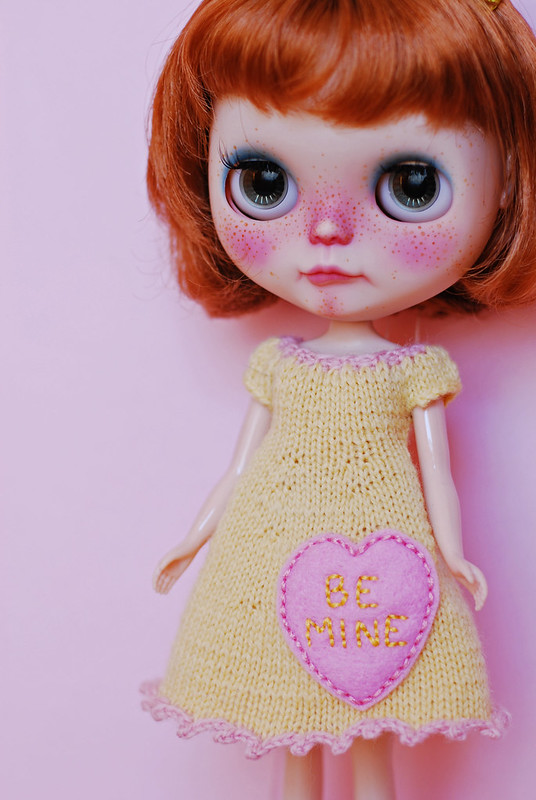
Dolly Valentine's Dresses


I feel like I have a million projects going at once right now, but I put everything on hold to whip up some Valentine's dresses for my Etsy shop.


I always love the thought of conversation hearts at Valentine's, but I think they taste super gross! I'm much happier to see them in fabric! 


Are you getting ready for Valentine's yet? I think I might try a few more crafty projects for the holiday :)

Thursday, January 22, 2015

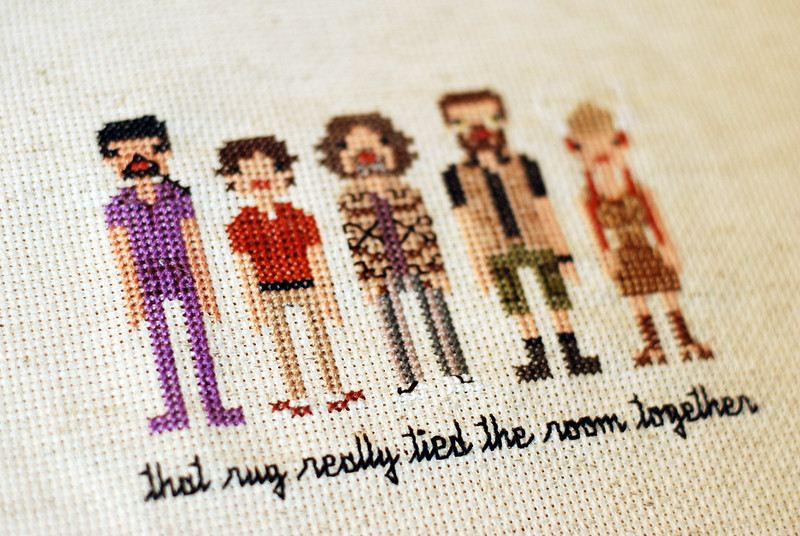
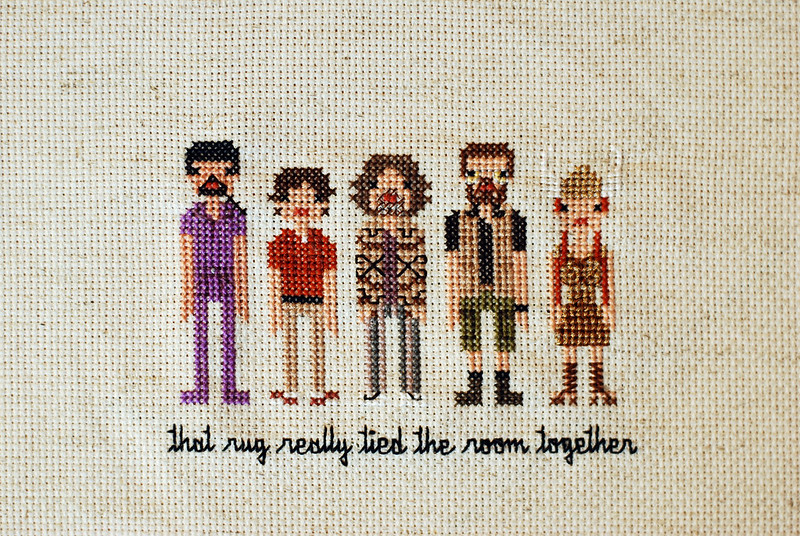
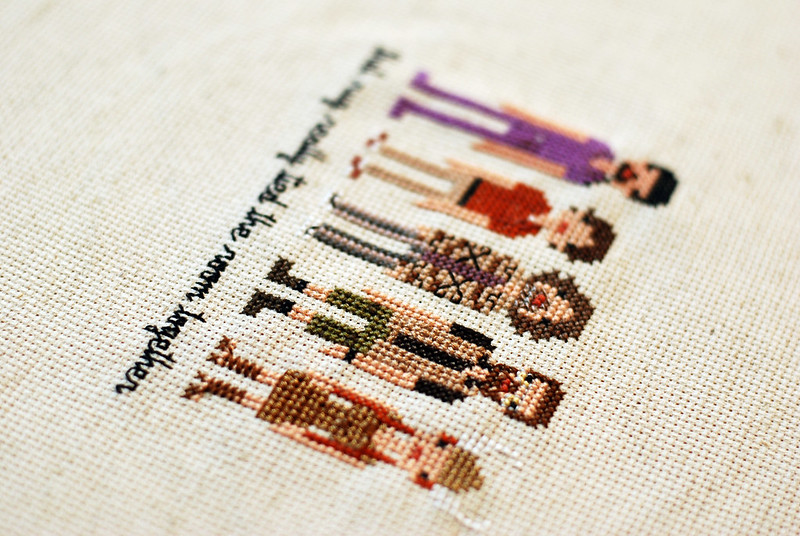
FO: The Big Lebowski Cross Stitch


This project just makes me giggle! Mr. Plum and I are slowly amassing some of our favorite pop culture references to make into an art wall. To add some mixed media texture, I decided to take on a little counted cross stitch. I haven't done this in ages, but it was super easy to pick back up. I think this is a project that anyone could tackle.


I found this fabulous The Big Lebowski pattern from weelittlestitches on Etsy. The level of detail in the pattern is hilariously amazing! I was seriously laughing out loud while I stitched Maude's bowling ball boobs!


Some of the detail got a little muddy. I think there wasn't enough contrast between some of the colors. Can you even tell Walter has 6 pockets stitched onto his vest? They are there, I promise!

 
I got a little carried away on Donny's pants and forgot to give him his bowling ball. Oops. 


This project came out great and was relatively quick (ok, everything seems quick after that seven year sweater!). The counted cross stitch was pretty relaxing and methodical once I remembered what I was doing. Now I just need to find the perfect frame!

Monday, January 12, 2015

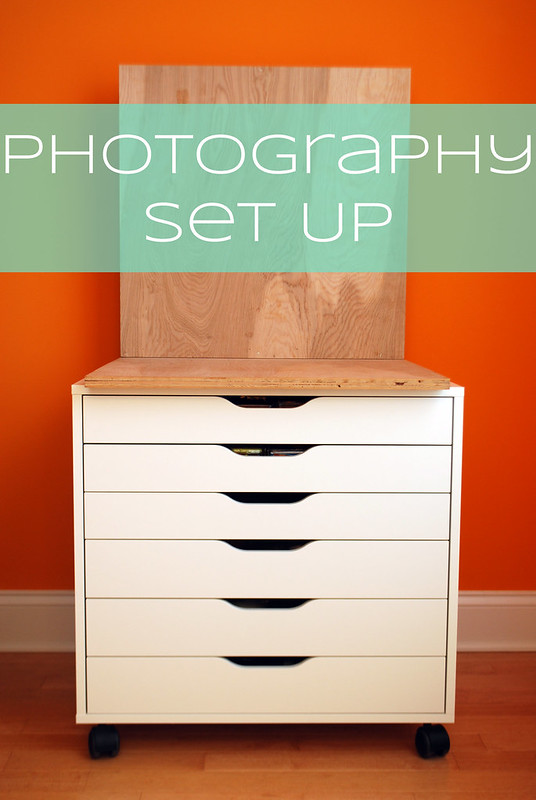
My Photography Setup


One of my goals for 2015 is to share my crafting and doll space with you, but that requires me to actually get the space presentable first! After the holidays my craft room is in serious need of some organizational TLC, but I wanted to go ahead and share some of the systems that are working really well for me right now.

I want to begin by showing you the setup I use to take the majority of my doll photos. I love to see "behind the scenes" doll photos and learn how people organize and stage their photos. The system I use has evolved considerably over the years, mostly through trial and error.

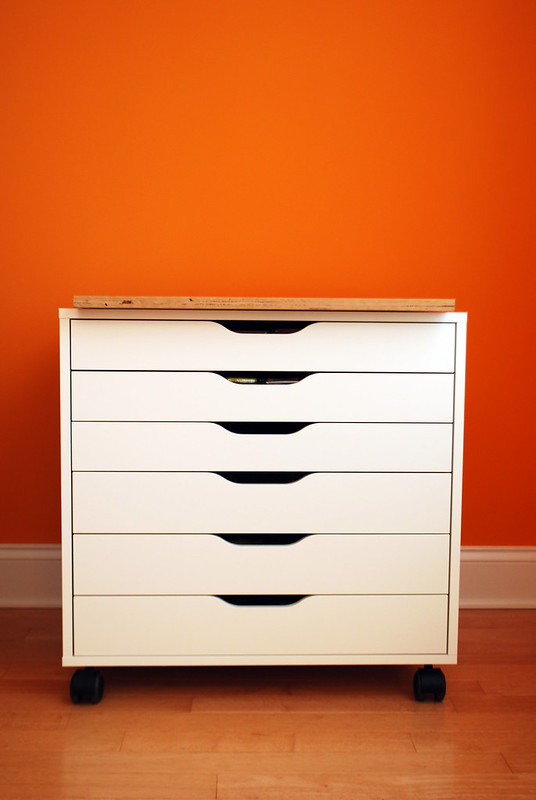
The base of my photo station is the 6 drawer Alex unit from Ikea. I love that I can easily wheel my whole photo station around the house since the very best natural light is in our dining room.


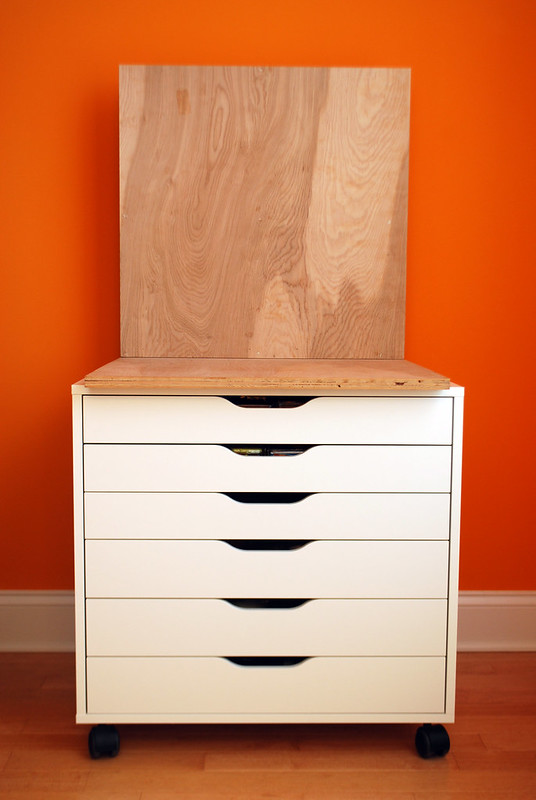
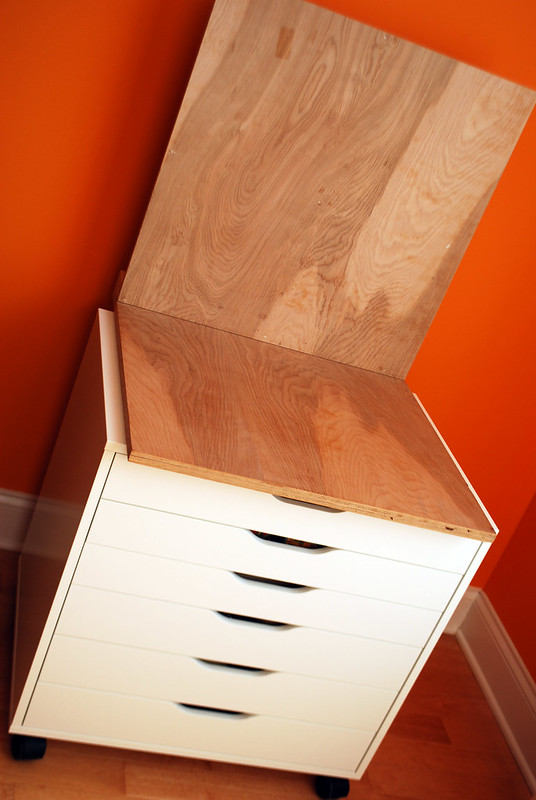
Stored on top of the drawer unit is an L-shaped wooden backdrop that my dad built for me.


I love that this backdrop fits perfectly over the Alex drawers, so it doesn't take up any extra space in the craft room when not in use.


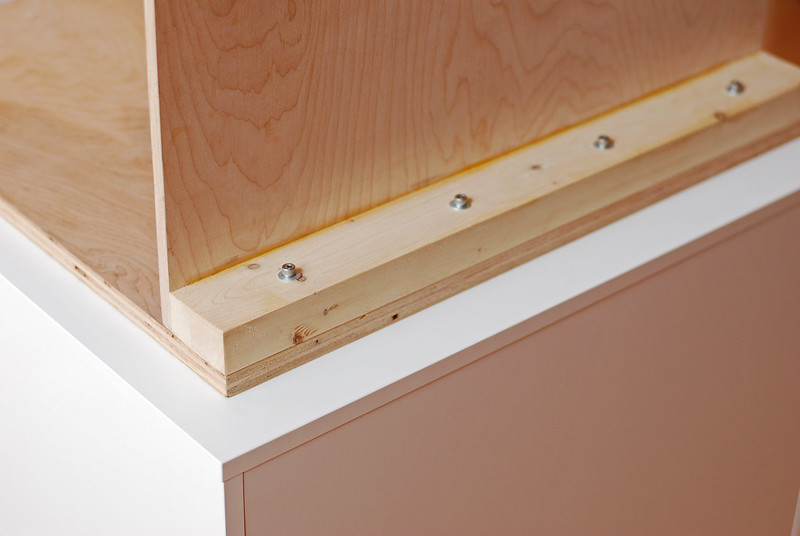
The backdrop is made from two pieces of plywood that are each two feet square. The upright board is attached to a smaller piece of wood which then screws into the base. The types of screws used allow me to easily disassemble the backdrop if needed.


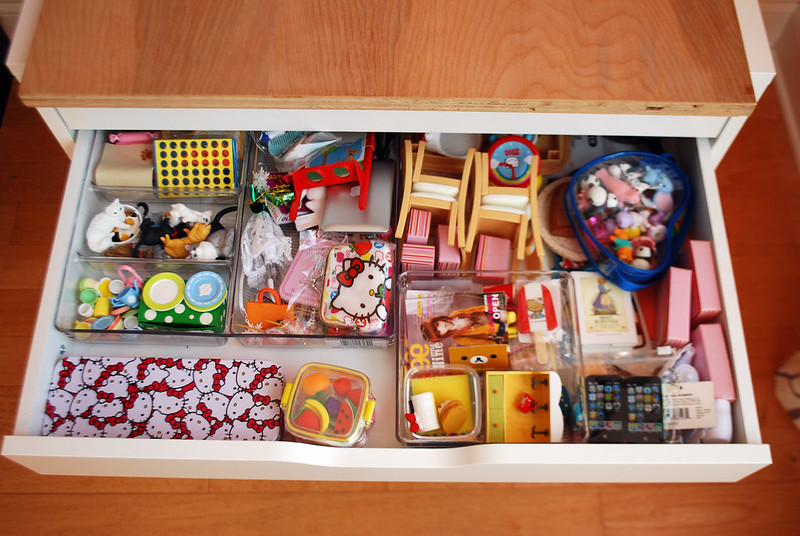
The top three drawers of the Alex unit hold the majority of my photo props. The top drawer holds Re-ment and other miniatures. It looks a little chaotic, but I promise there is a method to the madness! I organize my Re-ment by type rather than series, so categories in my dividers include things like snack food, school supplies, serving pieces, kitchenware, etc. The second drawer holds some overflow Re-ment as well as larger scale props for my MSD and SD sized dolls.


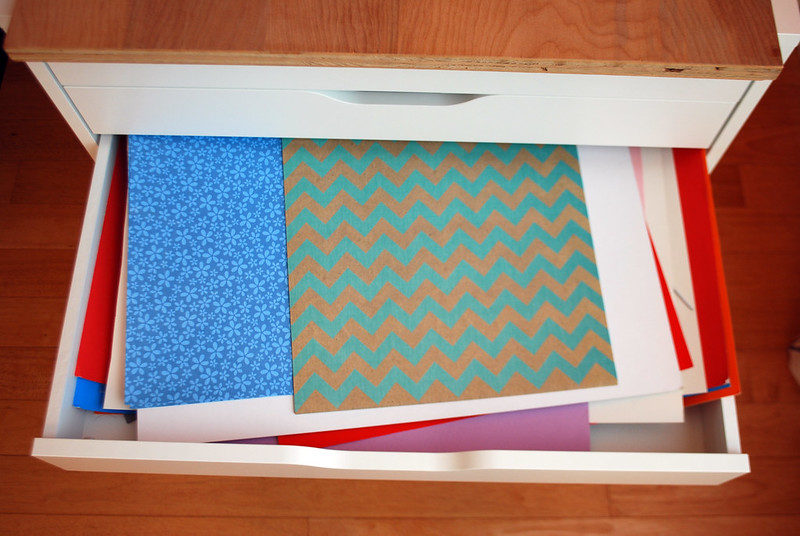
The third drawer holds all my photo backdrops. I primarily use colored posterboard, but I have a fair amount of scrapbook paper as well. I like the poster board because I can get larger pieces, which is helpful for dolls taller than 12 inches.


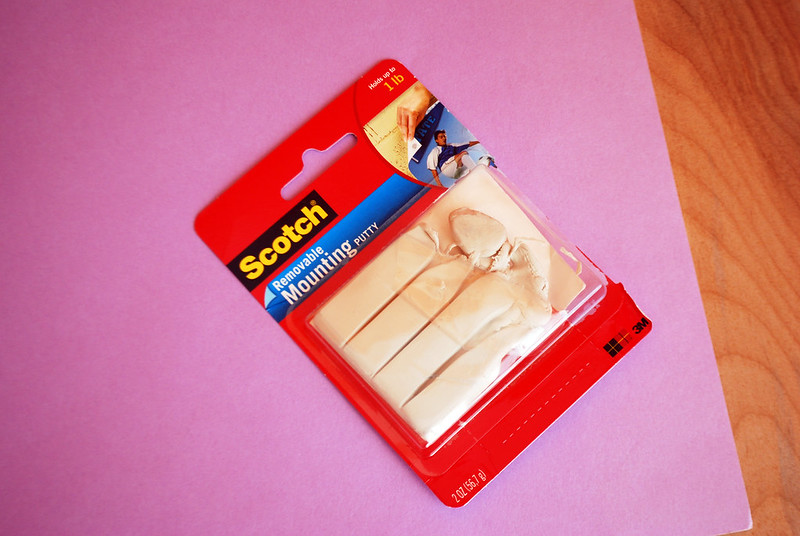
I attach the paper to the wooden backdrop using poster putty.


Here is what it looks like with a doll ready for photos. I'd like to say that I get all professional with a tripod and such, but usually I'm frantically snapping away in an awkward crouch while screeching "Don't touch! No hands!!" at the almost-two-year-old who is typically circling me like a shark at this point, gleefully squealing "BABY!" while brandishing a crayon like a saber at my helpless photo subject. #toddlerproblems


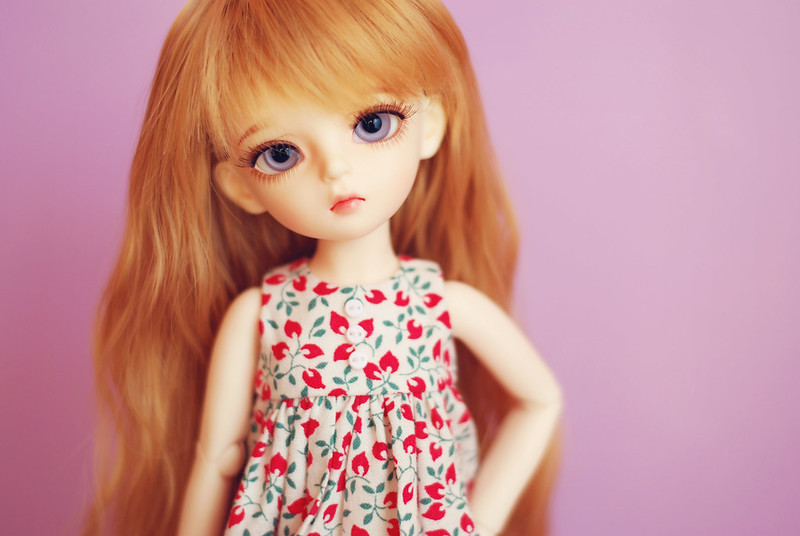
Here are the results of the above photo shoot (and twister-like toddler avoidance dance!). I switched to my 50mm lens for these and did just a little bit of Photoshop processing. Not too much Photoshop for me because I've barely scratched the surface on all there is to learn about that program!


I do also take photos with dolls on the floor, especially for my bigger girls, but that requires someone else home to entertain and contain our resident tornado sweet angel baby!

While it can be a little time consuming to set up and tear down each photo shoot, I really like that everything tucks away out of sight (and out of reach of little hands!) when I'm done. The only real downside of this system is that sometimes my photo angle gets too wide for the backdrop, especially if I'm trying to incorporate lots of props. One of my many project goals for this year is to create some diorama backdrops with more detail on the walls - maybe by using those tri-fold poster boards that are made for science fair projects? I haven't worked out all the details yet.

So that's the behind-the-scenes view of my dolly photography. I'd love to hear about your system or any tips or tricks you might have! Even after years in the hobby I have still never figured out how those amazing photographers get their dolls flying and riding bikes - are they all Photoshop wizards? Tell me if you know!!

Tuesday, January 6, 2015

FO: The Seven Year Sweater


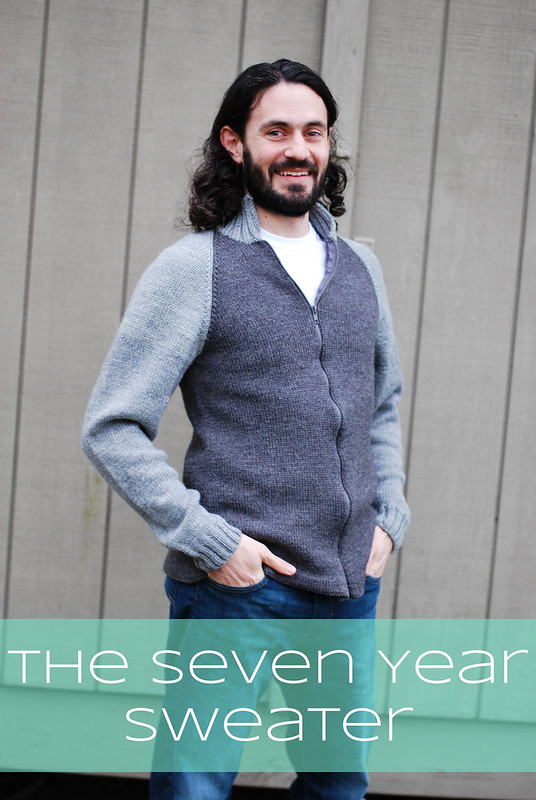
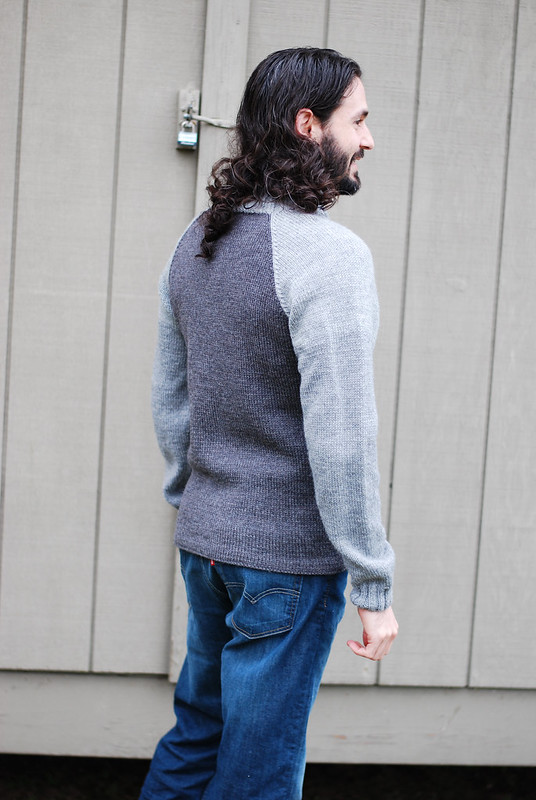
Now that Christmas has come and gone, it's safe to reveal my super secret holiday project. Sadly the title isn't an exaggeration - this sweater really has been seven years in the making! Shortly after getting married, I decided a man sweater was in order since the dreaded boyfriend sweater curse was lifted. I initially planned to take things slow with this sweater (although not quite seven years slow!) and I kept letting myself get distracted with other projects. The sweater sat forever with the body finished and the sleeves 80% done. I finally decided this was the year and got myself in gear to get it completely done.


The pattern is Retrofit by Jesse Loesburg. The pattern was well written and the sweater is a nice, classic style that is (thankfully!) still perfect for the mister even seven years later! I knit the size Large using Patons Classic Wool in grey mix and dark grey mix. Part of what derailed my progress for so long was running out of the lighter colored yarn (yet I somehow have four extra skeins of the dark grey - how does that even happen?). By the time I picked the sweater back up, Patons had pretty significantly changed the color. I was finally able to find a match from an Etsy seller with an older dye lot.

I love the hemmed bottom edge - even if it did take a billion hours to sew!
I did learn several new techniques with this sweater, including a tubular cast on and sewn bind off. I can't get over how smooth and professional that tubular cast on looks - so fancy! After watching about a dozen incredibly confusing YouTube videos for tubular bind offs, I ended up following this tutorial. The neck bind off came out looking great with plenty of stretch, and no PhD was required to follow the directions! I also learned how to sew in a zipper using this tutorial - something I'd like to avoid for the rest of my life! Hand stitching this puppy in took me much longer than expected and had me working well into the night trying to finish up in time to get it under the tree.


Mr. Plum was really excited to finally get his sweater, and I'm thankful to cross that project off the list once and for all! I'll admit to a crazy victory dance once that last end was woven in ;) I do have more sweater plans for 2015, but my plan is to keep them in 2015 - start AND finish!