Holy cow! This was a lesson in crafting endurance and bad Pinterest judgement. I had been searching for a front porch tree and was about to bite the bullet and buy one when I stumbled upon these tomato cage trees. I had an old tomato cage on the back deck. I have an unnatural love of deco mesh. Perfect project! Right? Maybe not... There was some bloodshed. There was some swearing. But I am pleased to report that what was once a neon yellow tomato cage has now been transformed into a pretty darn cute little tree. Here's the step by step, so that you can hopefully avoid the flesh wounds!
I began by zip-tying the pointy ends of the tomato cage together, kind of like a teepee. I used two zip-ties looped around each other to help keep the whole thing from sliding up and shooting off the ends of the cage.
Then I covered my tomato cage teepee in pipe cleaners.
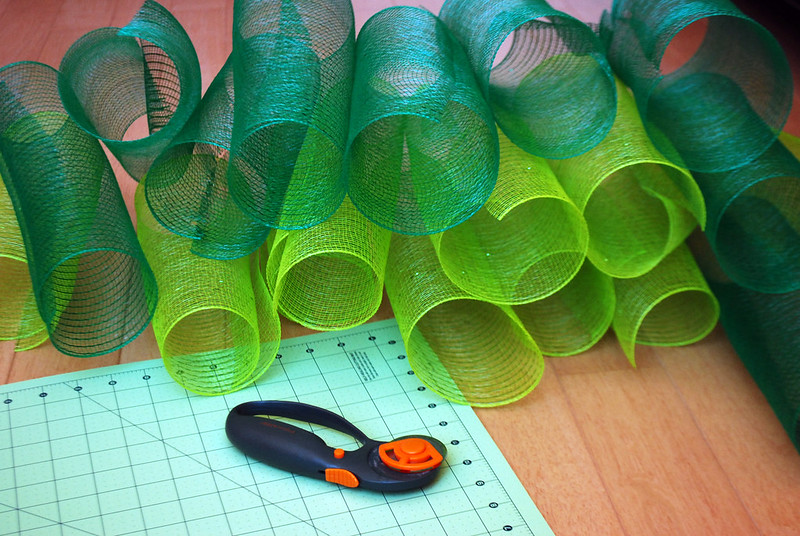
I used my rotary cutter and self-healing mat to cut my deco mesh for the tree filling.
My mesh was 12" wide, so I cut 12" lengths to make squares (which then immediately curled up into tubes).
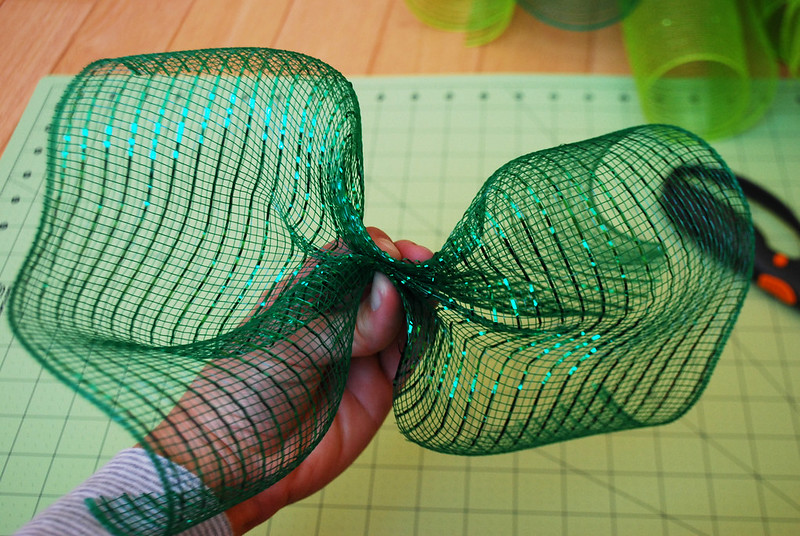
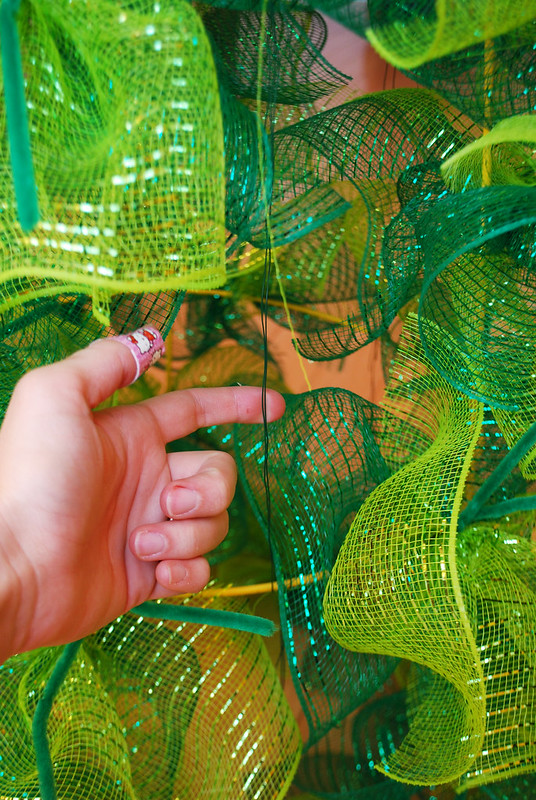
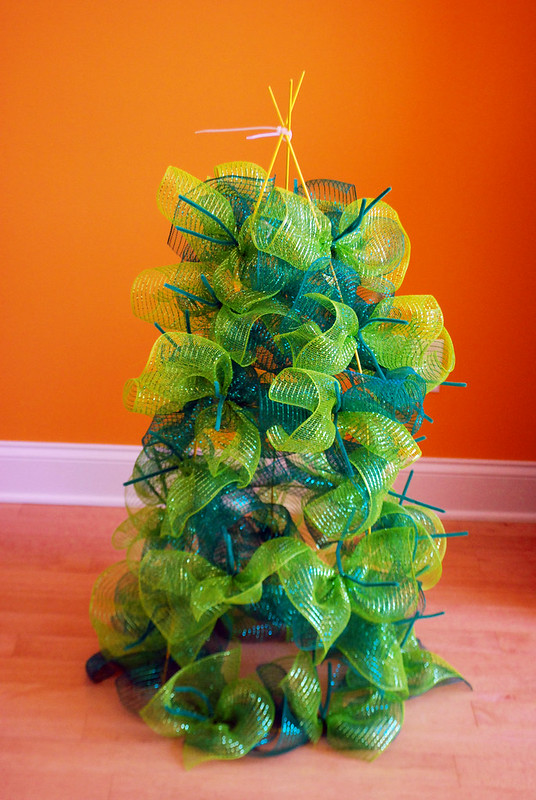
To make the filling tufts, I gathered a square in the middle so that it resembled a giant bow. This works best if you spread the square out so that it's curving away from you. I kept the factory sealed edges to the outside (gather from cut edge to cut edge) to help keep the unraveling to a minimum. I stacked two gathers together and then attach that bundle to the tomato cage.
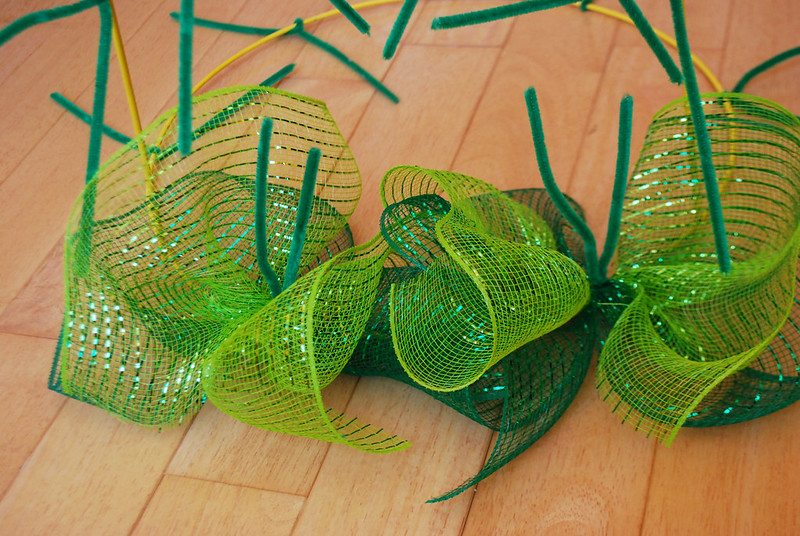
To attach the tufts, I layered one dark green and one light green gather. Then I twisted the gathered bundle into one of the pipe cleaners. This process would have been much easier with a helper (someone to hold your first gather while you're bunching up the second). As it was, I was definitely sitting in the floor and using my toes - hence, no pictures of this process! It would save time (and finger dexterity) to layer the two colors before gathering, but I found this didn't make the tuft poofy enough to give good coverage on the tomato cage.
 |
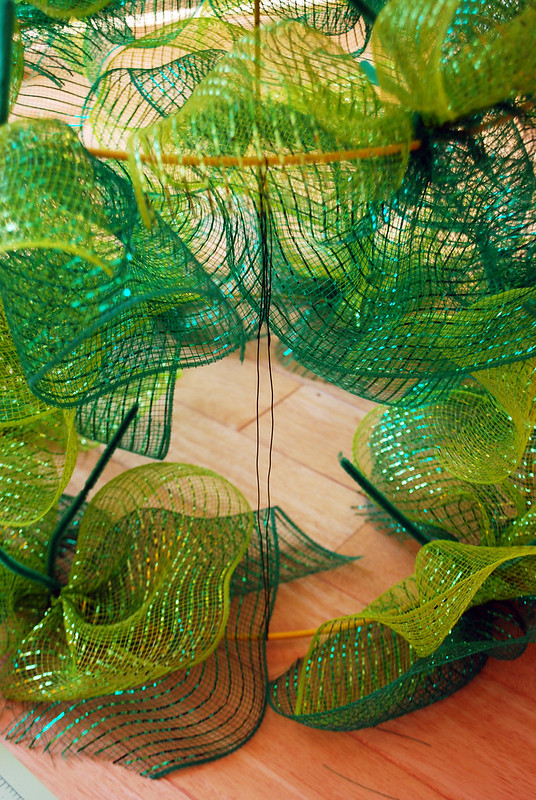
To fill in some of the gaps, I used floral wire to make bridges in between the tomato cage supports. This gave an additional spot to attach tufts. This is also where the bloodshed began! Floral wire is sharp!! Be careful!
I added a total of 6 wire bridges to fill in the bald spots. And some stylish HK band-aids to fill in the holes in my fingers!
This was after filling in the bald spots. It was looking much more tree-like now (and much more tempting to the cat, who took up residence in the center of the tree immediately following this picture). There was still quite a bit of yellow visible, so I kept adding tufts til I ran out of mesh. I used 4 rolls total (2 of each color).
And decorated! It was actually really challenging to cover up all the tomato cage spikes at the top of the tree. I ended up using two more zip-ties to get the sproingy ball spike thingies (seriously, do those have a name?) to stay up around the top of the tree since there wasn't really anything of substance for them to stick into. Then I made tufts of ribbon to stab down around the tomato cage spikes for extra coverage.
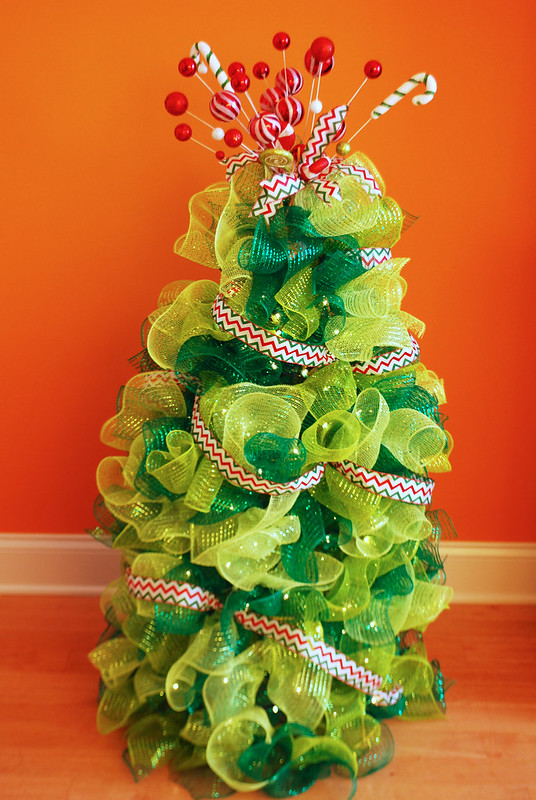 |
| Lights! Can you see them? |
Things I would do differently if I were to make this again would be: 1) wear gloves to handle floral wire!! and 2) use a dark tomato cage. I think I caused myself a lot more headache than Pinterest implied because my tomato cage was so bright and therefore difficult to cover.
Overall I'm please with how it turned out. It's really cute when you aren't thinking about how much blood I lost making it. I can't say that I would be super thrilled to make another, but I did learn a lot from my mistakes so maybe another would be smoother sailing. What do you think? Have you persevered through some Pinterest almost-fails?
